The list runs from a single paint-and-paper card to salt dough keepsakes and painted pottery, with most ideas needing little more than cardstock, acrylic paint and a handprint.
What decides your pick is the age of the hands: a squirmy toddler can manage one quick press on paper, while an older child can handle layered prints, fabric paint on an oven mitt or arranging petals around a painted palm.
Ink pads keep a wriggler tidy, and a traced and cut-out hand skips the mess entirely.
1. Handprint Card
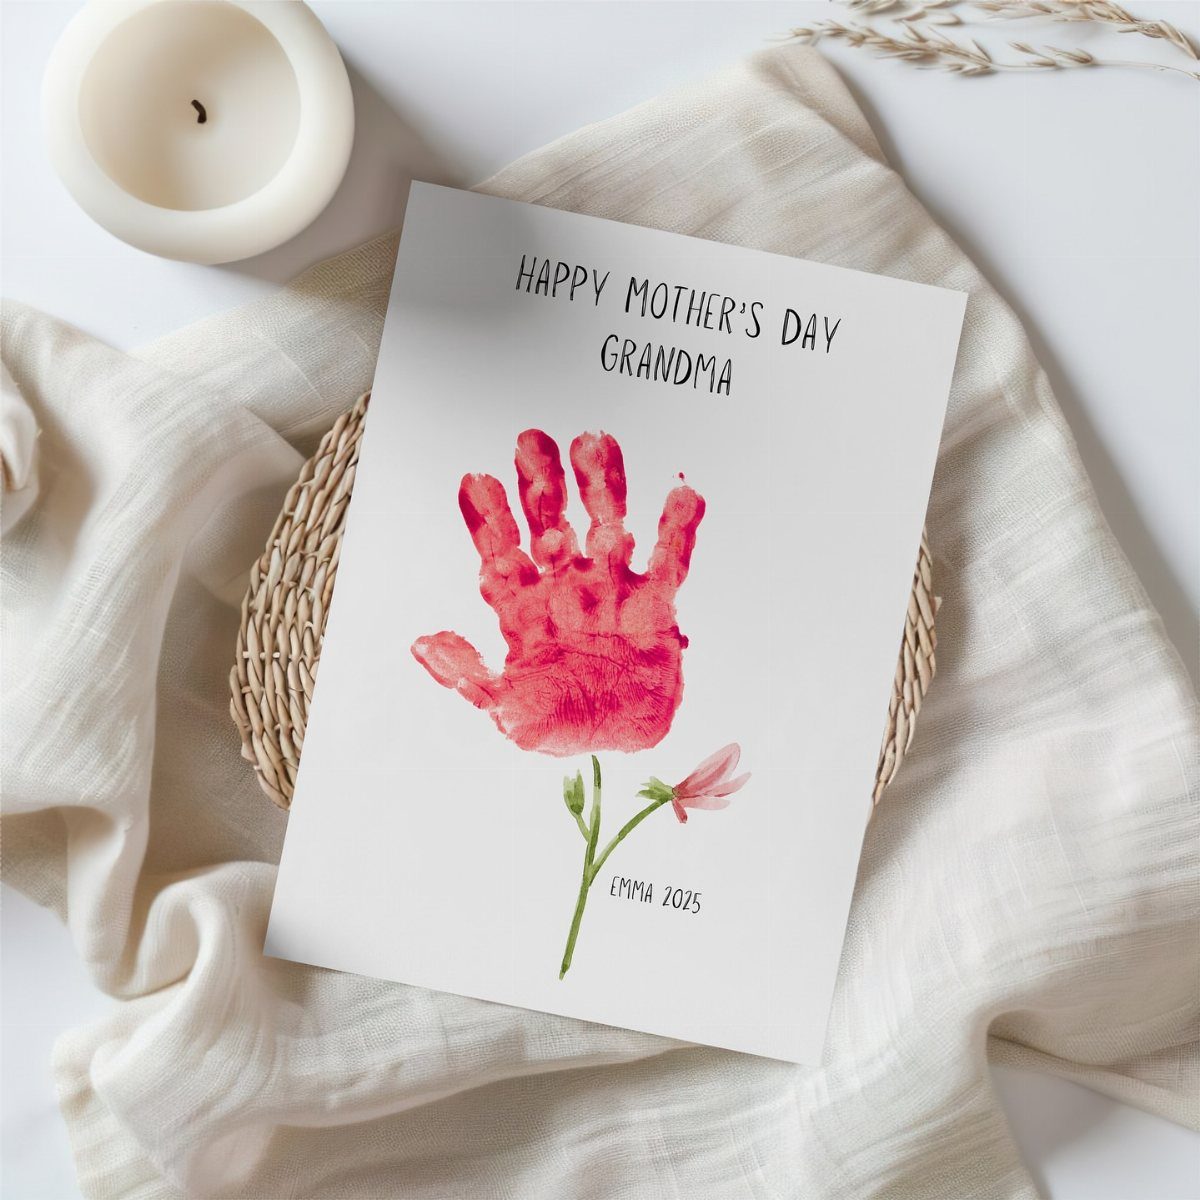
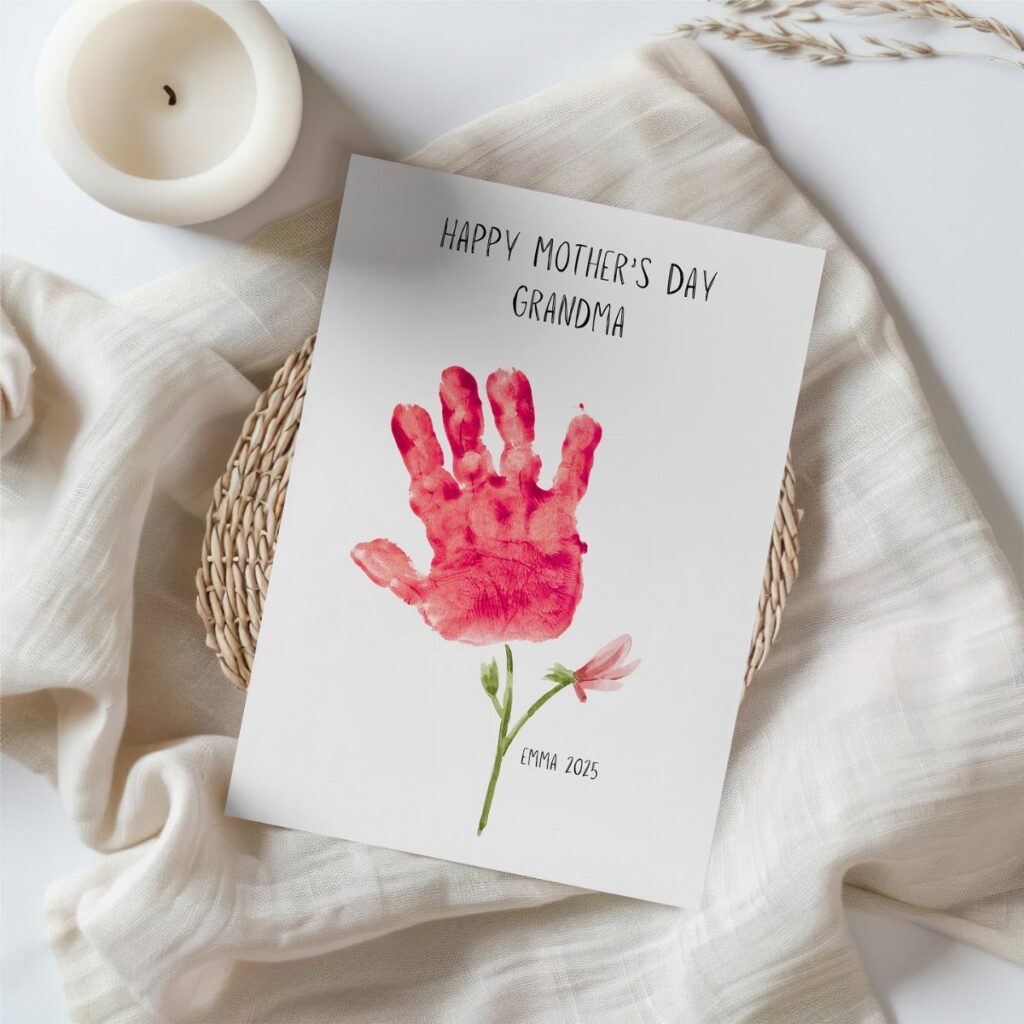
A folded card is the quickest handprint project for Mother’s Day, and one handprint is enough. Red paint on white paper gives the strongest contrast, and a painted stem and leaves turn the palm into a flower head.
Paint the hand with a sponge brush so the layer stays thin and the fingers don’t blur.
Press, lift straight up, and add the message and year once it dries. A date makes the card a keepsake.
2. Salt Dough Handprint Keepsake
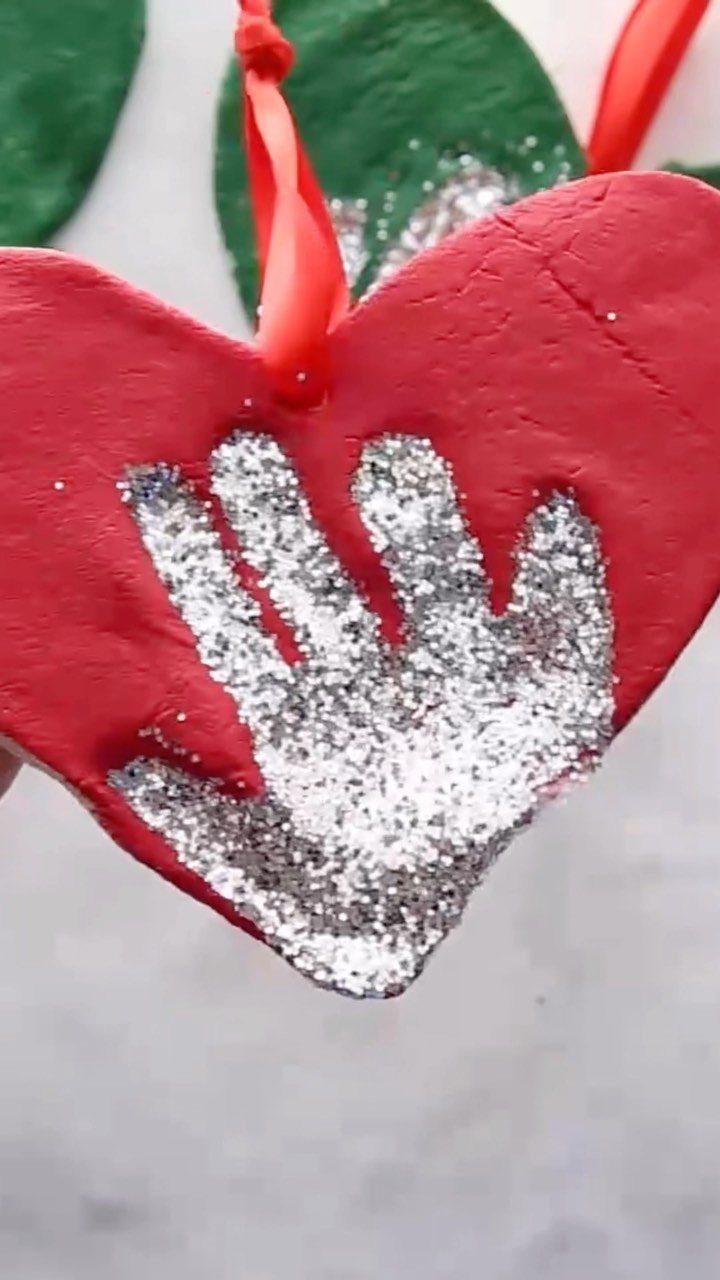
Salt dough turns a small hand into something that sits on a shelf or hangs on a tree. Cut a heart, press the hand in gently, and punch a hole at the top for a ribbon loop before baking.
Silver glitter paint in the impression makes the print easy to read against a red heart.
Choose a thick, even heart, because thin edges crack. Cost is low: flour, salt and water.
3. Handprint Jewelry Dish
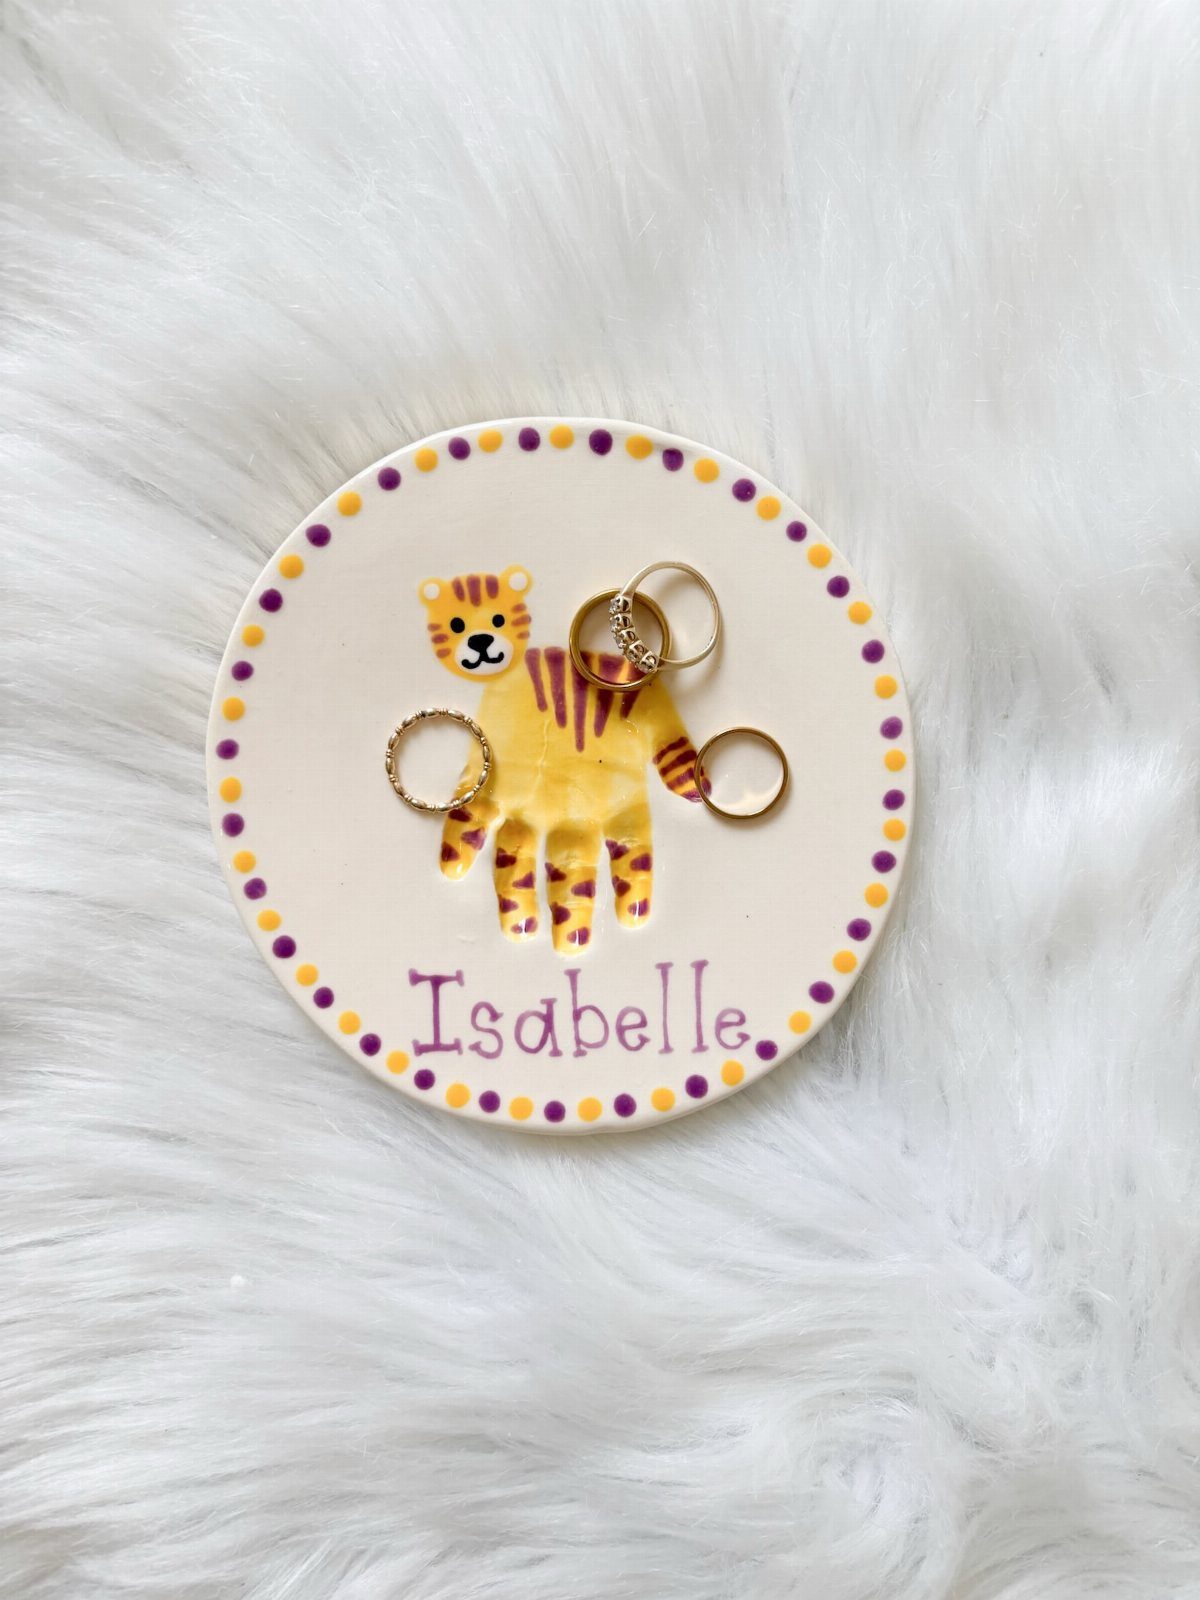
A handprint on a ceramic dish gives Mom a place for her rings that she will actually see each day.
The hand becomes an animal, such as a tiger, with a few painted details, and the child’s name goes beside it.
Yellow paint on white keeps the print bold.
Ask a young child to hold still for one press, then add stripes and the name afterward. A pre-made white dish is a fine shortcut.
4. Handprint Poem Art Piece
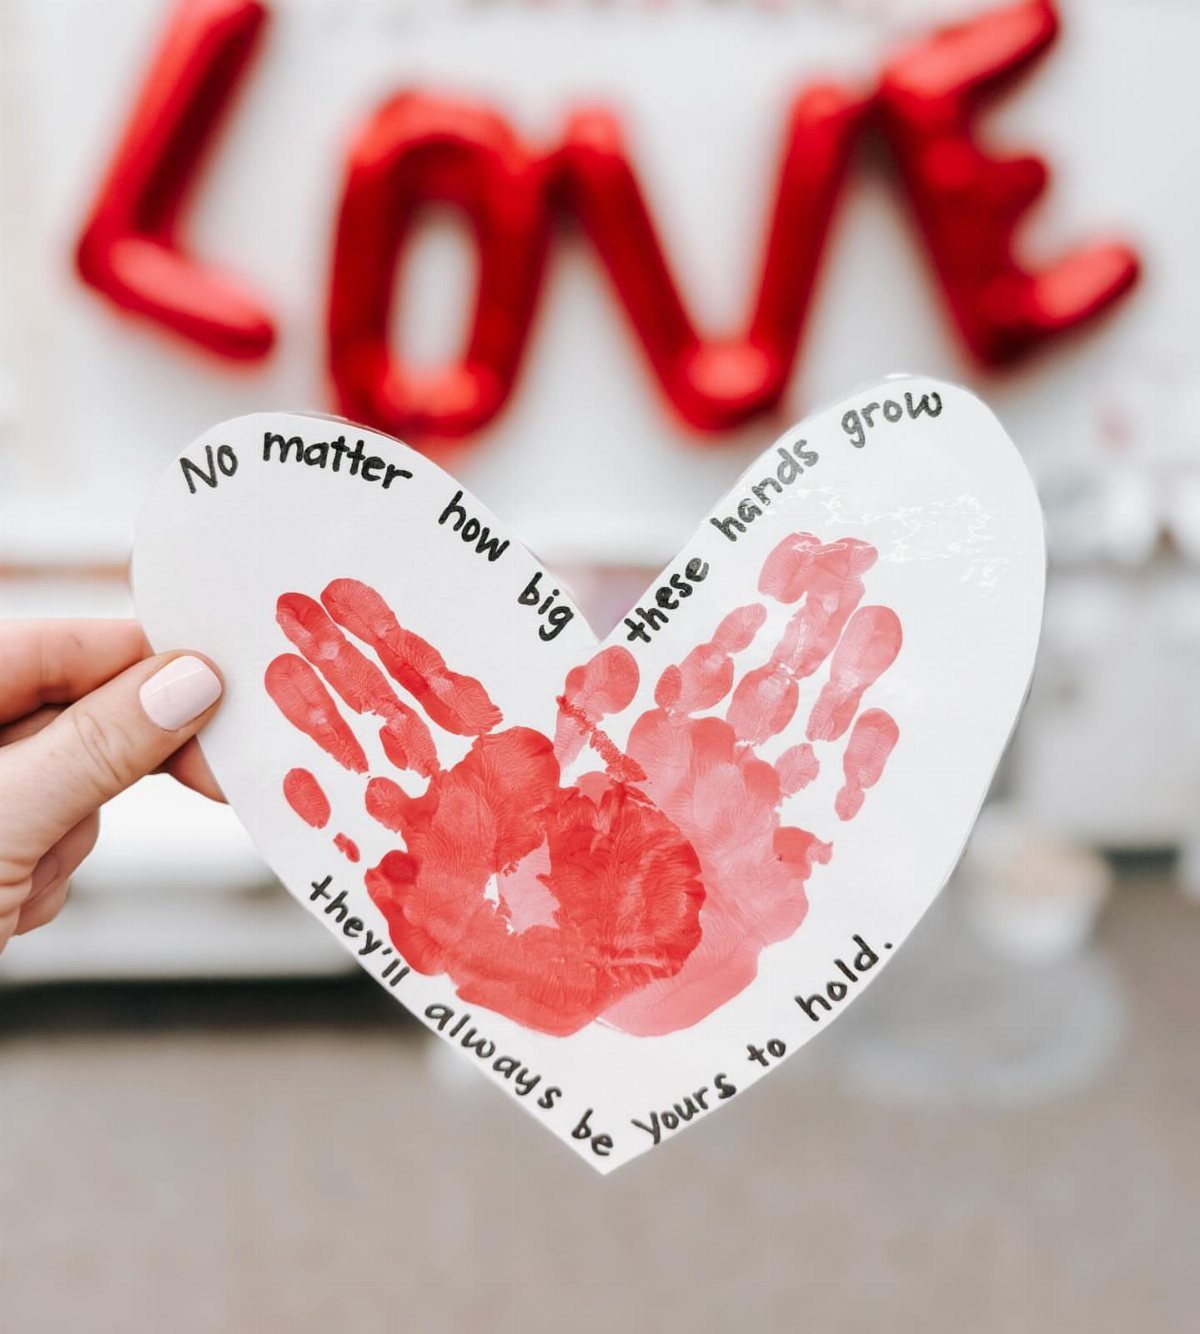
2 handprints and a short poem on a heart cutout make a gift that says something without much work. The poem about small hands growing does the sentimental job, so the painting can stay simple.
Print the verse first, then place the hands where they fit around it. Do the prints on a test sheet before the real one, since a smudge on the final heart can’t be fixed.
5. Handprint Family Tree
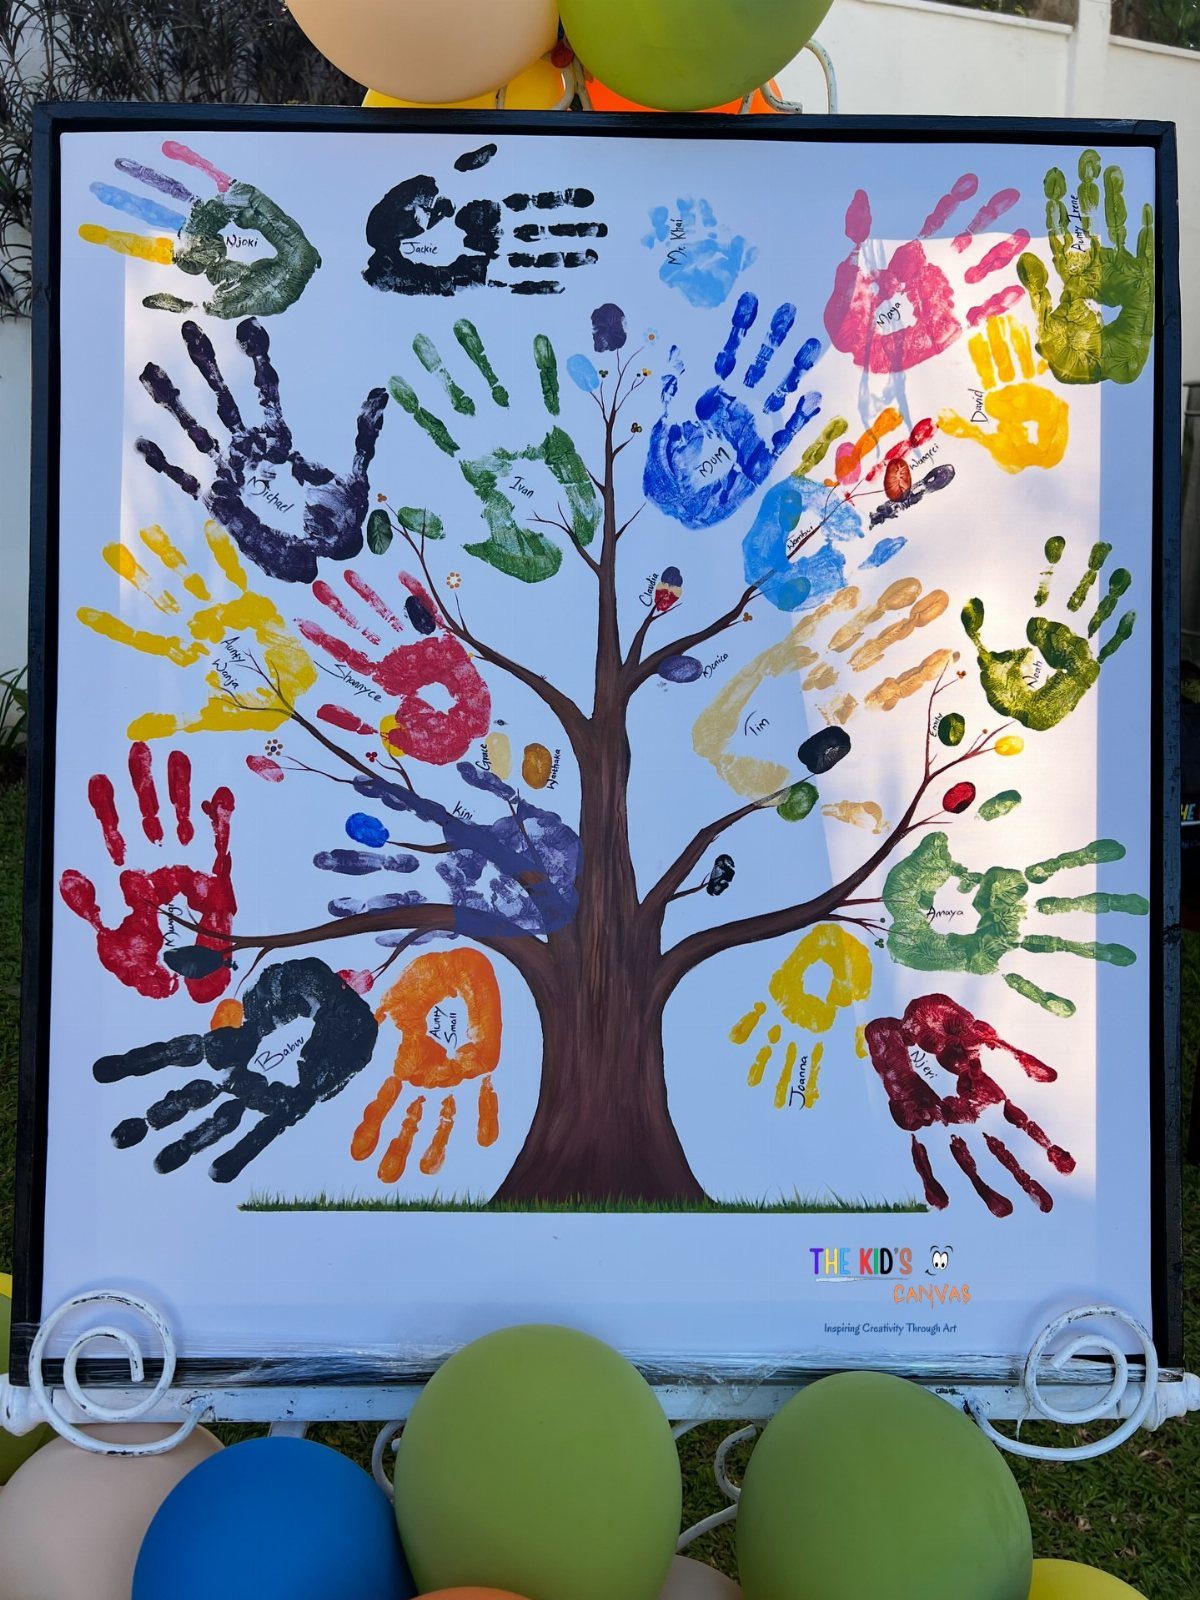
Each leaf on a family tree is a different hand, so the whole household can join in. Paint a brown trunk first, then press hands around the branches in assorted colors.
Label every print with a name, as the framed version does, because small hands are hard to tell apart later.
I’d pick a canvas over paper for this one. Let the trunk dry before pressing leaves, or the colors muddy.
6. Handprint Flower
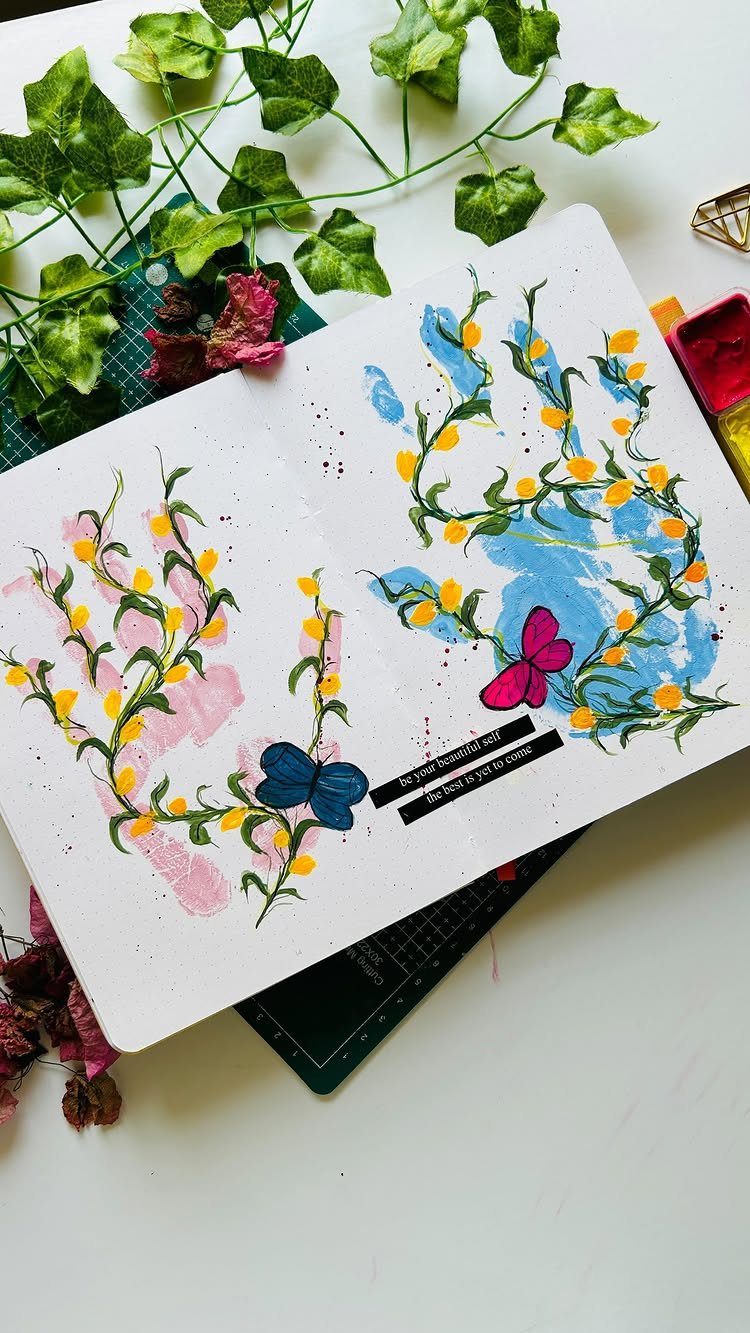
Flowers are the gentlest way to use a handprint: the palm becomes the bloom and the fingers become petals.
For a handprint flower, paint each hand as a petal in pink or blue, add a yellow circle for the center, and draw a green stem below.
Add stems, butterflies and a line of writing once the paint dries.
A sketchbook keeps several years of prints in one place, which beats loose sheets that get lost. Pick washable paint and keep wipes close, especially with toddlers.
7. Handprint Keychain
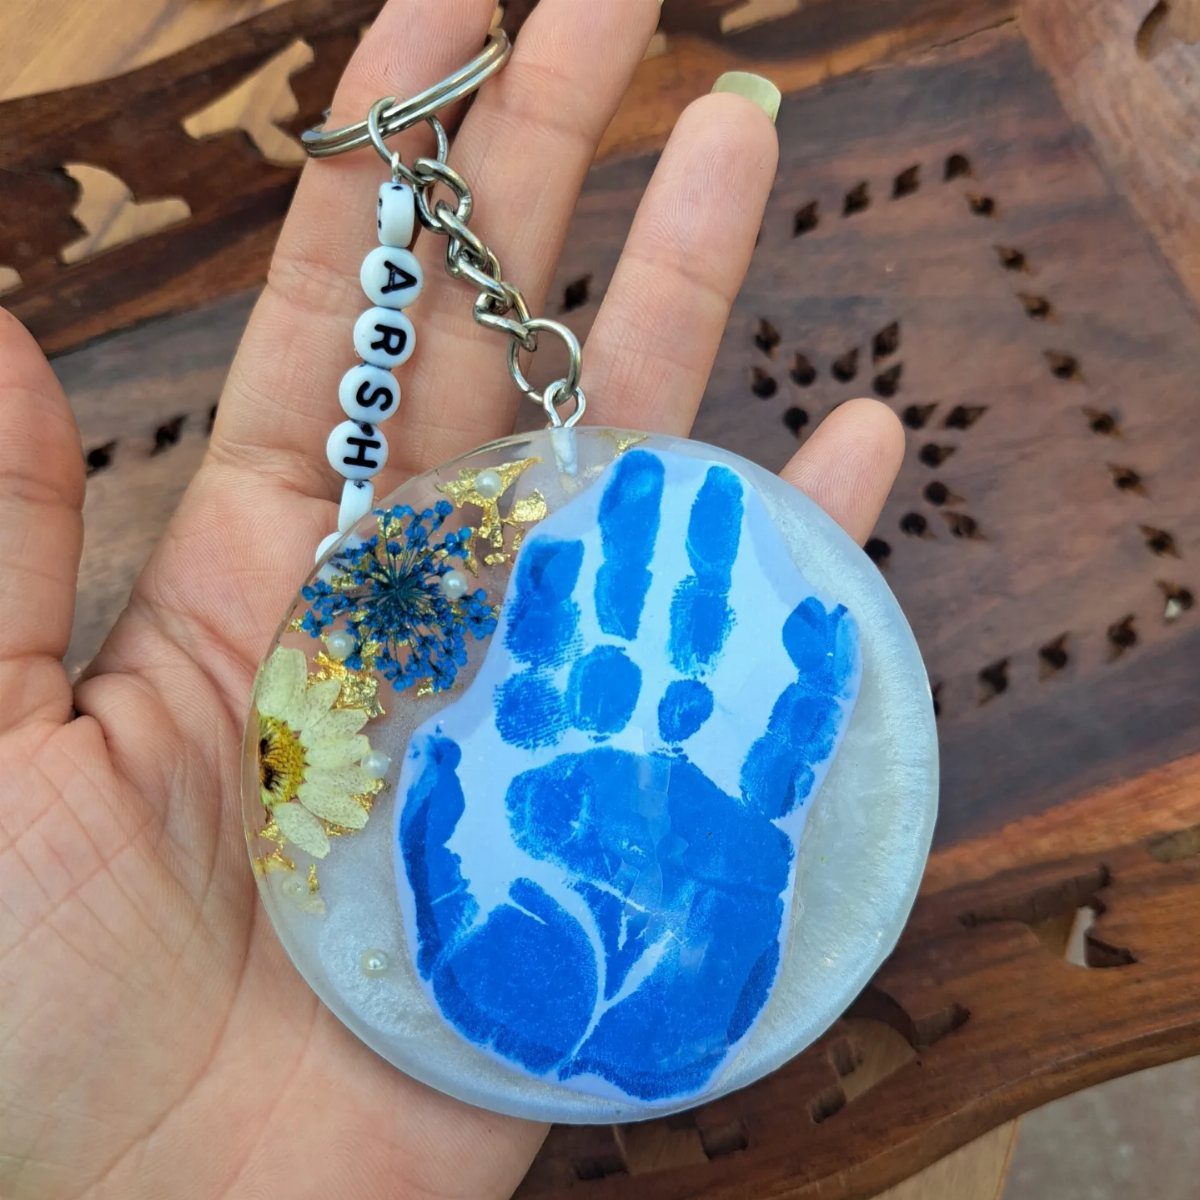
A resin keychain turns one small handprint into something Mom carries every day.
A handprint keychain works best cast in clear resin: press the print onto a paper or cardstock disc, seal it with a few dried flowers, then add letter beads for the child’s name on the strap.
Resin needs a mold and patience, so I’d lean on a pre-made circular kit if you want a shortcut.
Press the hand in paint or on paper first, then seal it in. Add the beads last, and a name is easy to read on a strap.
8. Handprint Oven Mitt
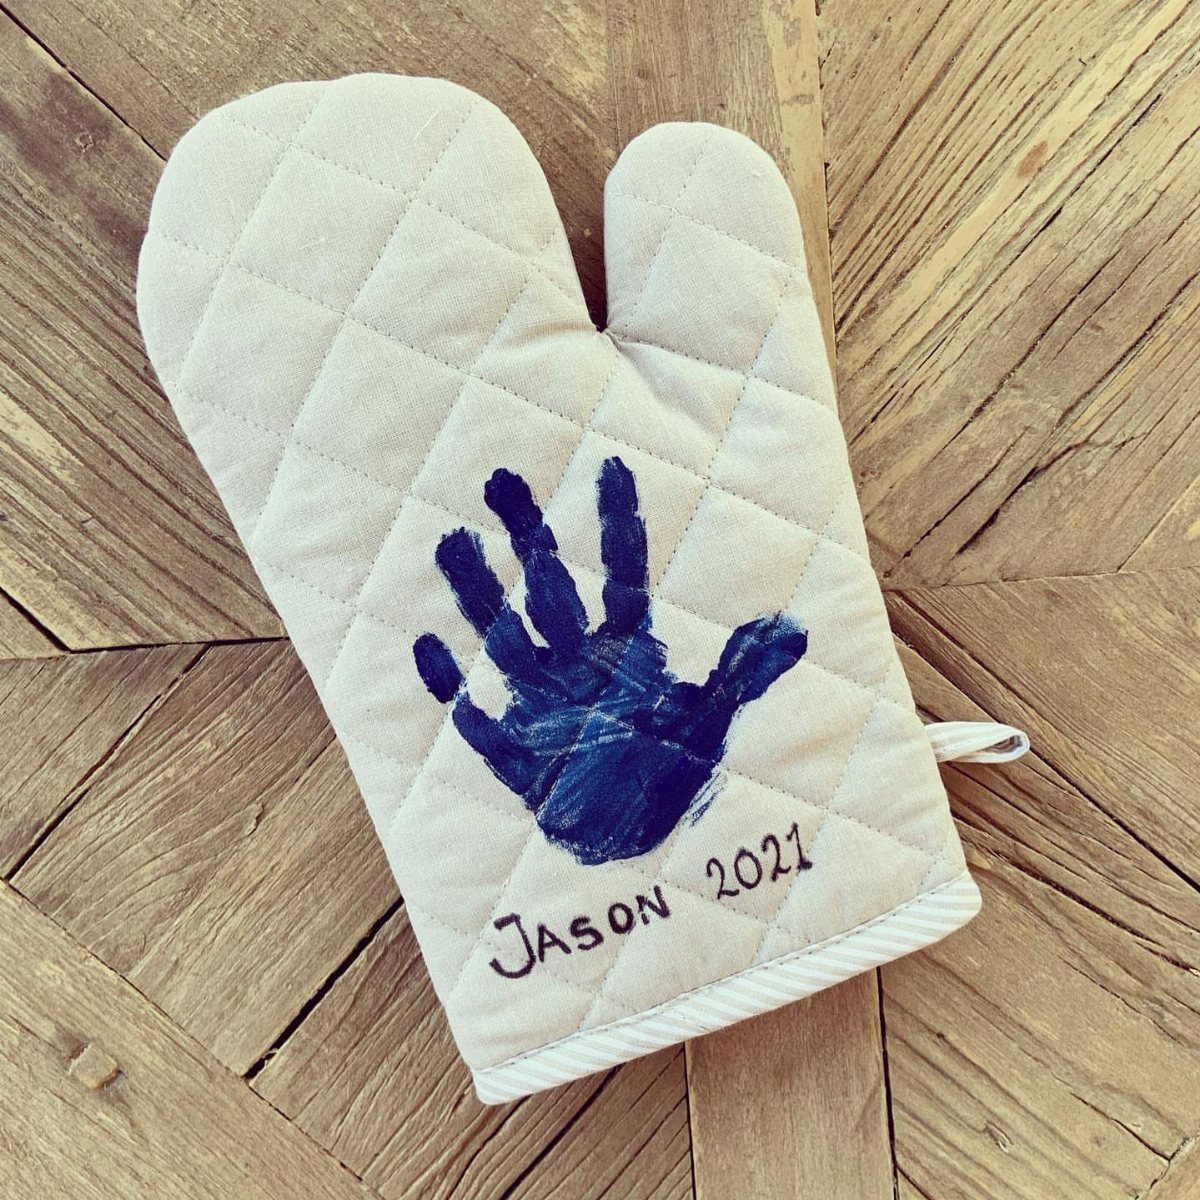
Quilted cream fabric takes a blue handprint well, and an oven mitt is a gift Mom reaches for constantly.
Write the child’s name and the year under the hand, so the mitt doubles as a record of how big that hand was.
Use fabric paint or a fabric marker rather than regular craft paint, which can crack and wash out.
Test the press on a scrap of the same quilting first. I’d skip heavy washing and treat it as a keepsake that happens to be useful.
9. Handprint Flower Bouquet
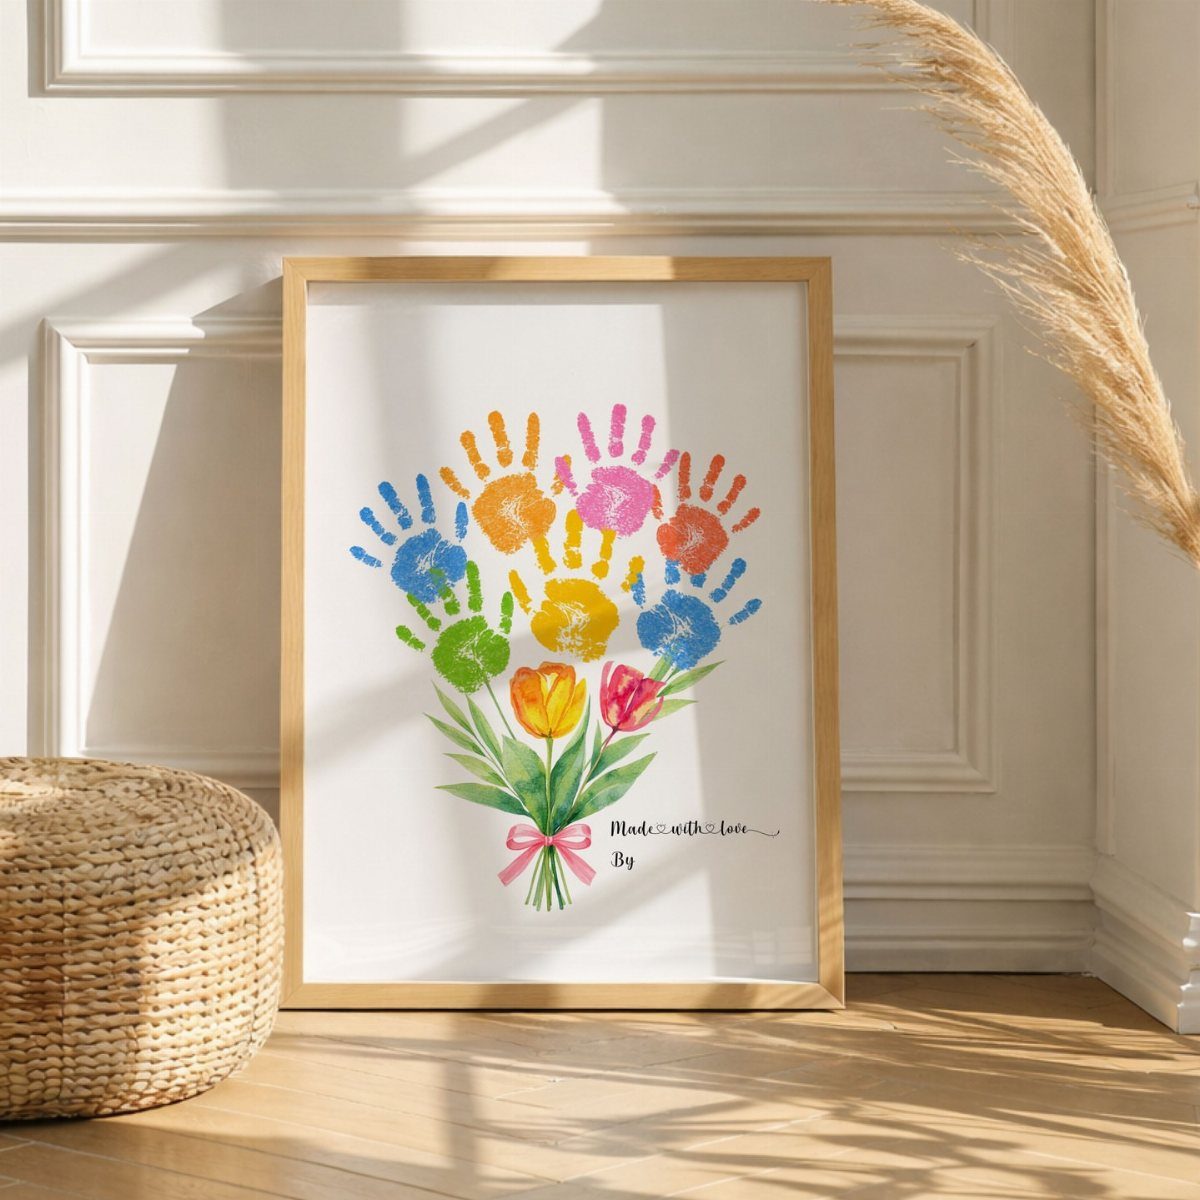
Every finger becomes a petal or a stem here, so a single child can fill a whole bouquet.
Paint several hands in different colors for the blooms, use green prints for the stems, and shape a bow from one more print in pink.
Plan the layout in pencil before any paint touches the paper.
Print the flowers first, let them dry, then add stems so the colors stay clean. Write "Made with love" and the child’s name below, then frame it.
10. Handprint Butterfly Craft
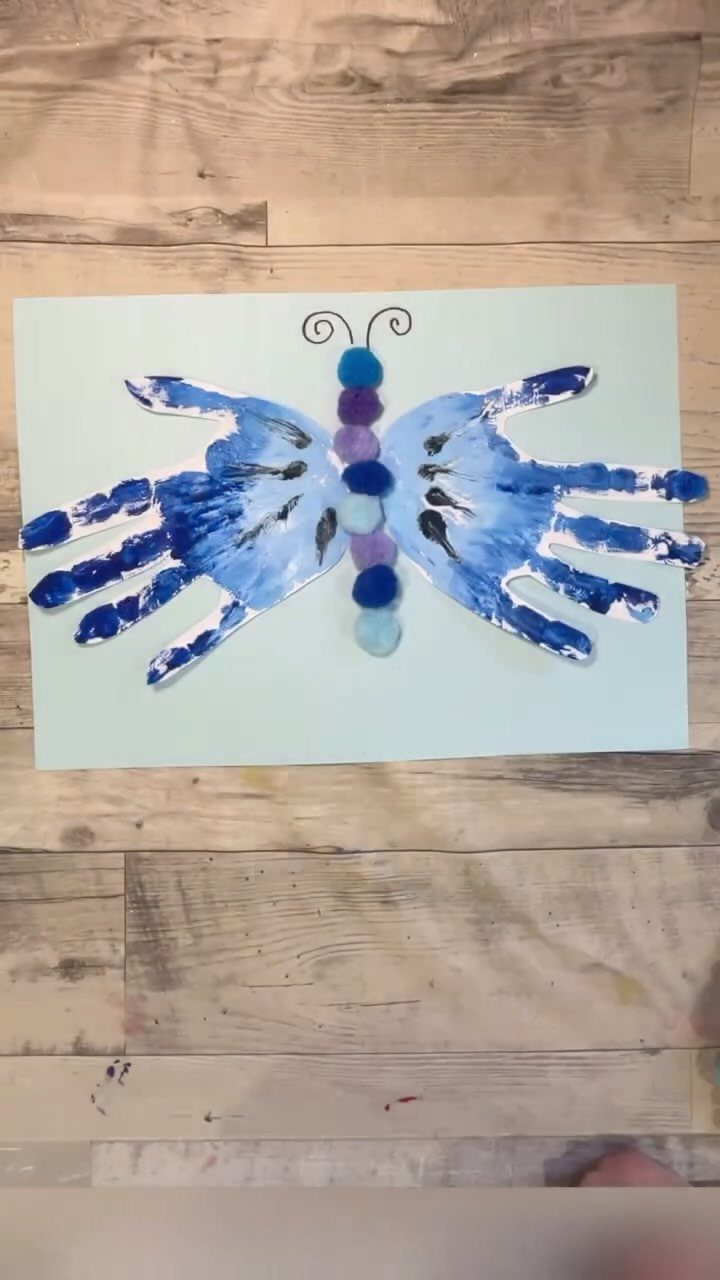
2 painted hands pressed side by side become butterfly wings, with the thumbs meeting near the middle. Blue paint on light blue paper gives a soft, tone-on-tone look, and colorful pom-poms glued down the center make a fun, textured body.
Use white glue for the pom-poms, since paint alone won’t hold them.
Draw two thin antennae with a marker once everything is dry. Wash the child’s hands between prints so the second wing stays as bright as the first.
11. Overlapping Family Handprint Art
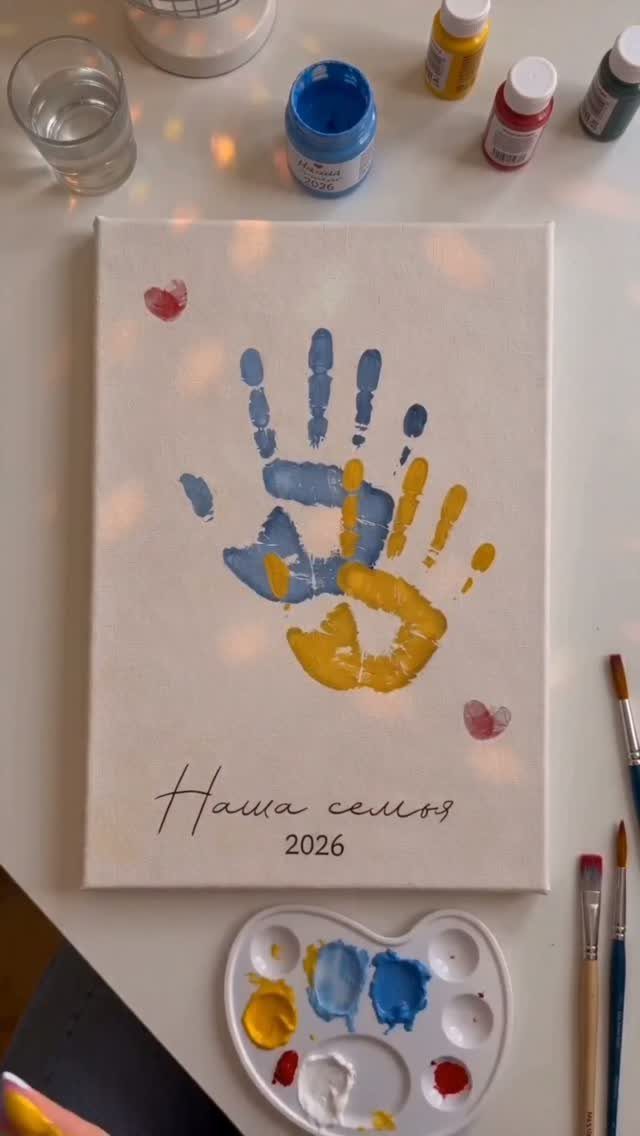
Overlapping prints in 2 colors, blue and yellow, create a layered pattern that feels like a family portrait without a single face. Each person adds a hand, and where the paint crosses, the colors blend into green.
Start with the largest hands and finish with the smallest on top, so the little prints stay visible.
Add a short line of text and the year along the bottom. A white canvas holds up better than paper under several layers of wet paint.
12. Framed Colorful Handprint Print
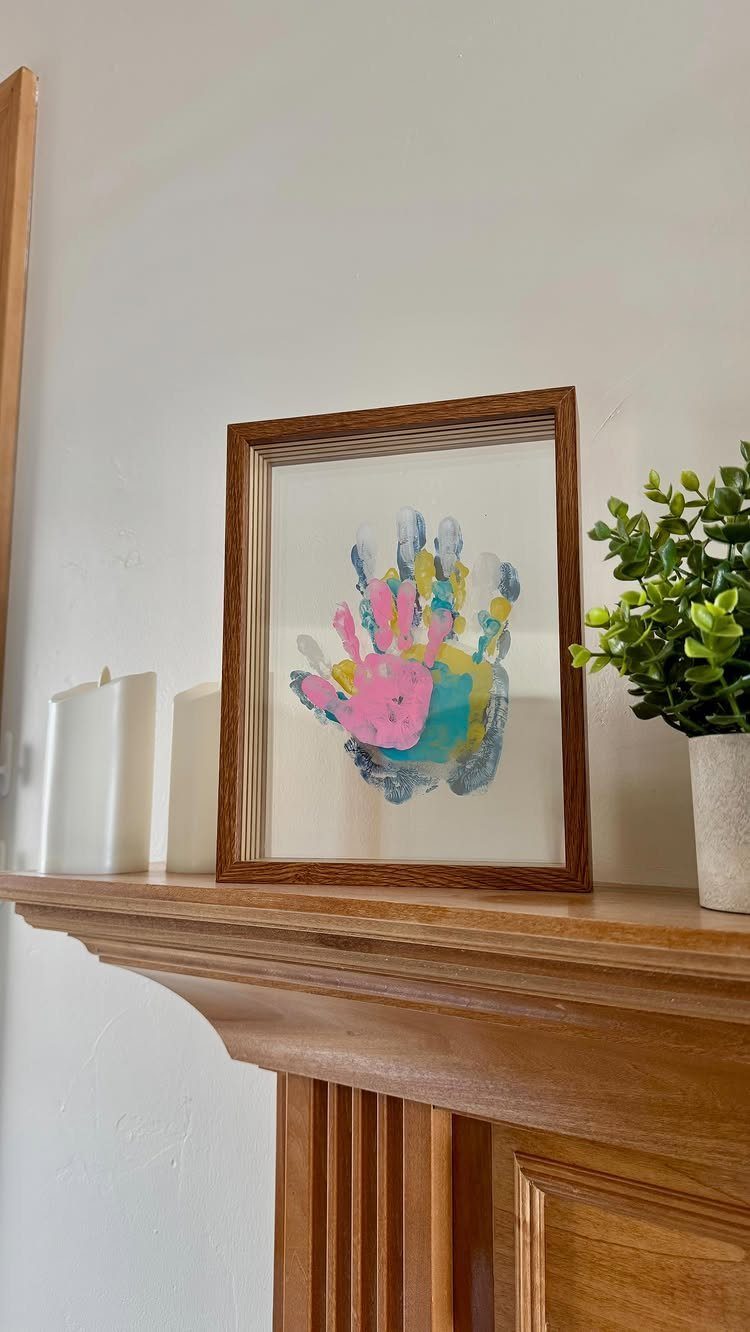
Brush a different color onto each finger and the palm, then press once.
Painting in separate colors takes a steady hand, so work quickly before the paint dries.
Press straight down and lift straight up. Choose a mat with plenty of white space, since one print looks best with room around it.
13. Handprint Penguin Art
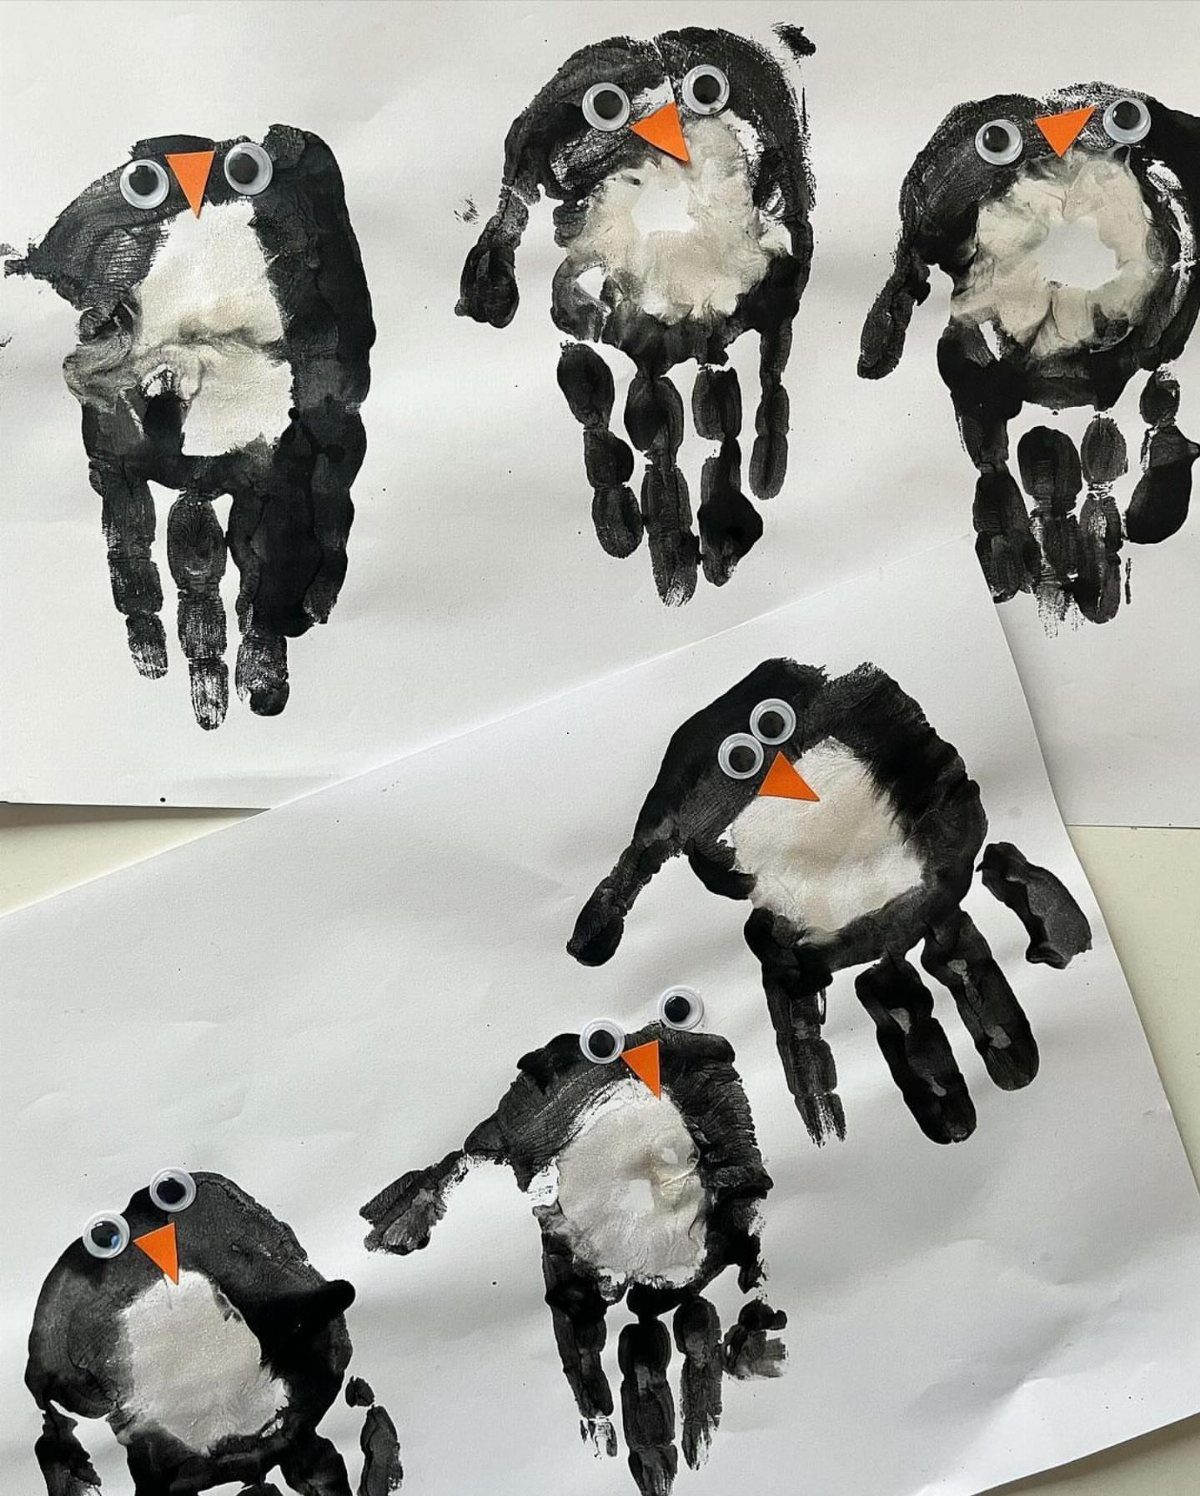
Black and white paint turns a small palm into a penguin: the black hand is the body, and a bit of white paint on the palm makes the belly.
Orange paper beaks and googly eyes finish the face, which is why this one suits kids who love gluing as much as stamping.
Let the paint dry fully before adding the beaks and eyes, and use white glue so they stay put. Cut the beaks from orange paper ahead of time so the children can just stick them on.
Stamp a few on one sheet and you get a whole colony from a single child.
Crafting Tips
Washable acrylic and non-toxic ink pads both work.
Ink pads are the tidier option for a child who wriggles. Paint gives a bolder print, but it asks for more cleanup.
Keep wipes within reach before the first press, plus an old towel and a bowl of water. Schedule the session just before bath time and the mess becomes part of the routine.
Run a few practice prints on scrap paper first. The first press is rarely the best one, and a practice round helps the child learn how much pressure to use.
If paint or ink is too much for a squirmy toddler, trace the hand on colored paper or cardstock and cut it out. Glue the cutout onto the project, and nobody gets messy.
Materials Needed
Most of these projects need only a short supply list: cardstock, acrylic paint, a paintbrush and non-toxic ink pads if you want a cleaner option. White cardstock is the standard choice and shows color well.
Paper quality matters more than most people expect. Thin printer paper wrinkles and warps under wet paint, while cardstock stays flat and holds a clear print.
Buy a few extra sheets so you have room for mistakes.
Supervision Advice
Stay in the room for the whole session.
Keep scissors and any other sharp tools in your hands, not the child’s. Cut shapes ahead of time, before the paint comes out.
Set out only the colors you plan to use, and put lids back on between prints. That keeps spills small and lets you give your full attention to the child.