The projects here run from paper marigolds and painted rocks that cost almost nothing to cookies, face-paint-ready flower crowns and a piñata you can buy ready-made.
Who sits at the table decides the project: patient teens and adults can handle the Sugar Skull Paper Rosettes, while mixed ages and younger kids do better with Tissue Paper Marigolds, Painted Sugar Skull Rocks or Painted Sugar Skull Pumpkins.
1. Tissue Paper Marigolds
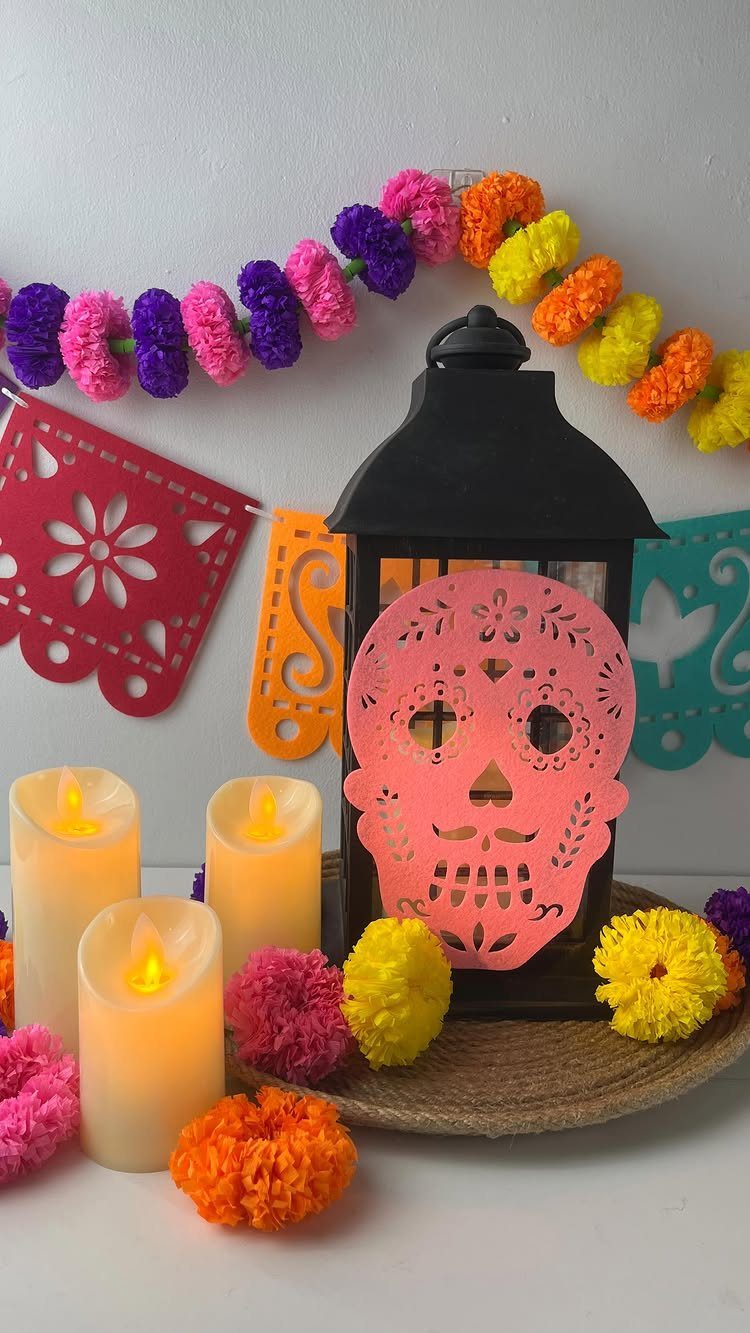
Tissue paper marigolds are the cheapest way to fill an altar with color, and they never drop petals on the ofrenda. Layered sheets in yellow, orange and pink, gathered and fluffed, read as full blooms from across a room.
Make a dozen more than you think you need. They cluster well around flameless candles, which I prefer over real flames when paper sits this close.
Kids can handle the fluffing, so this one works for a mixed-age crafting table.
2. Sugar Skull Paper Rosettes
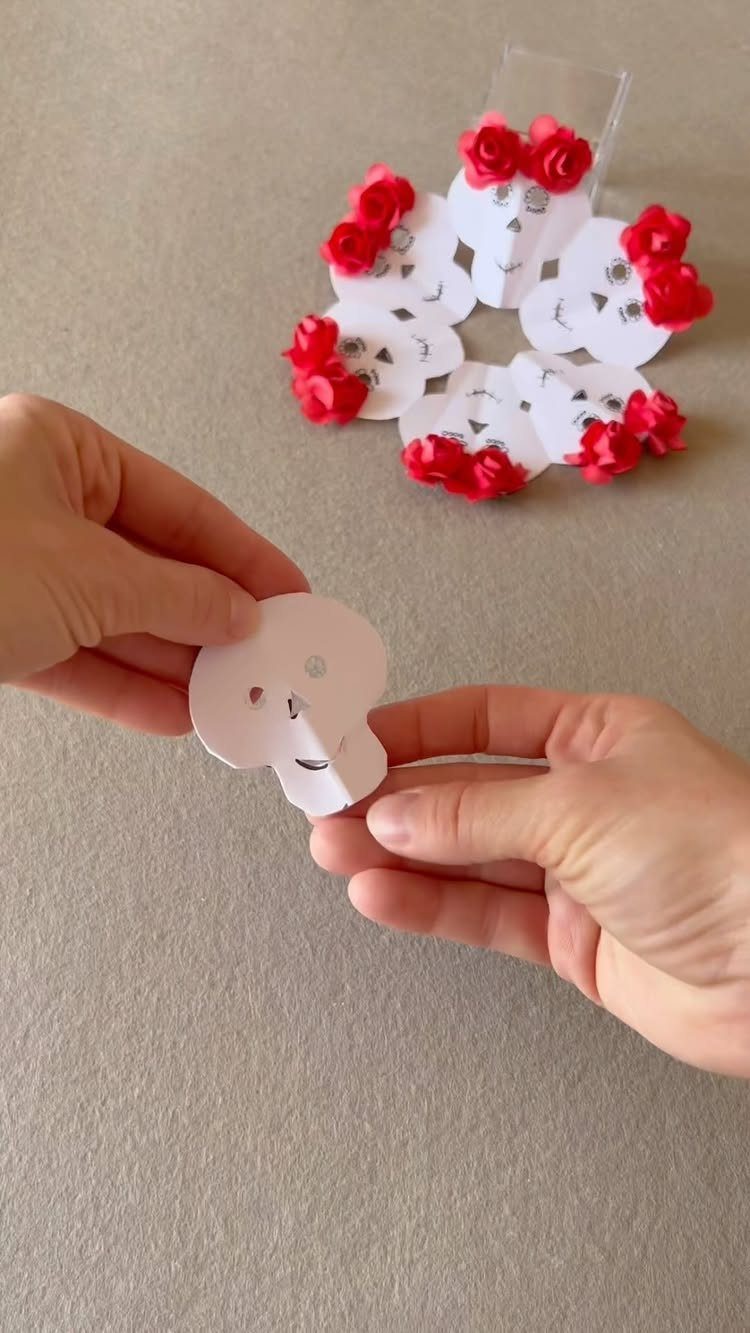
A rosette made from folded paper sugar skulls turns a flat cutout into a round, flower-like medallion. Each skull is folded and joined edge to edge until the circle closes, with red flowers in the center hiding the seams.
White paper keeps the skulls crisp and lets the red read clearly. Cut all the skulls from one template so the folds line up.
This one asks for patience and steady hands, so I would hand it to teens and adults.
3. Painted Sugar Skull Rocks
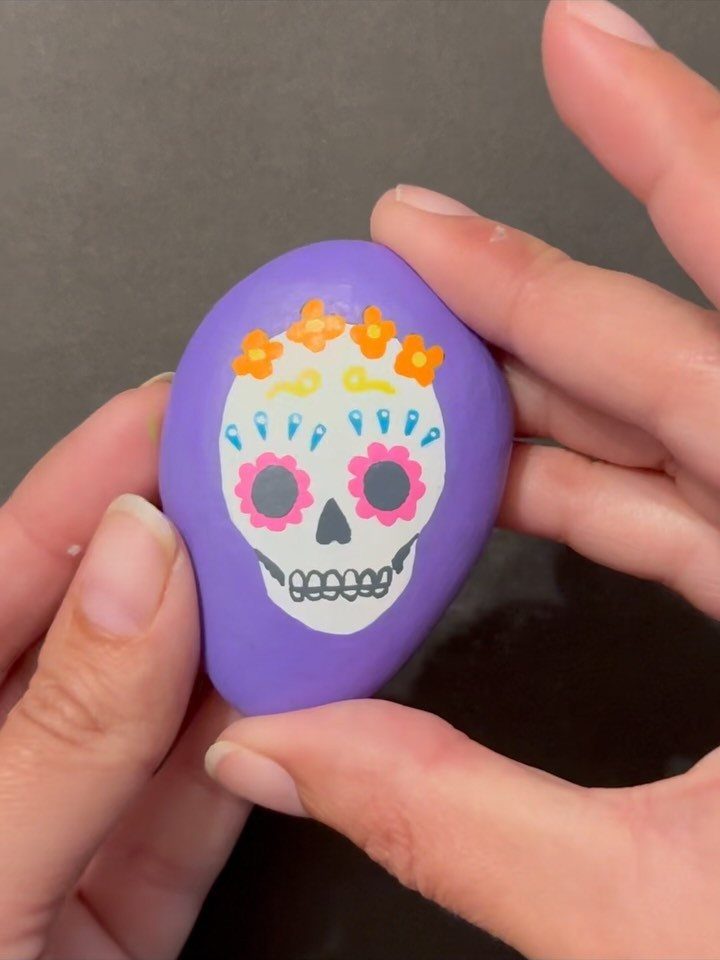
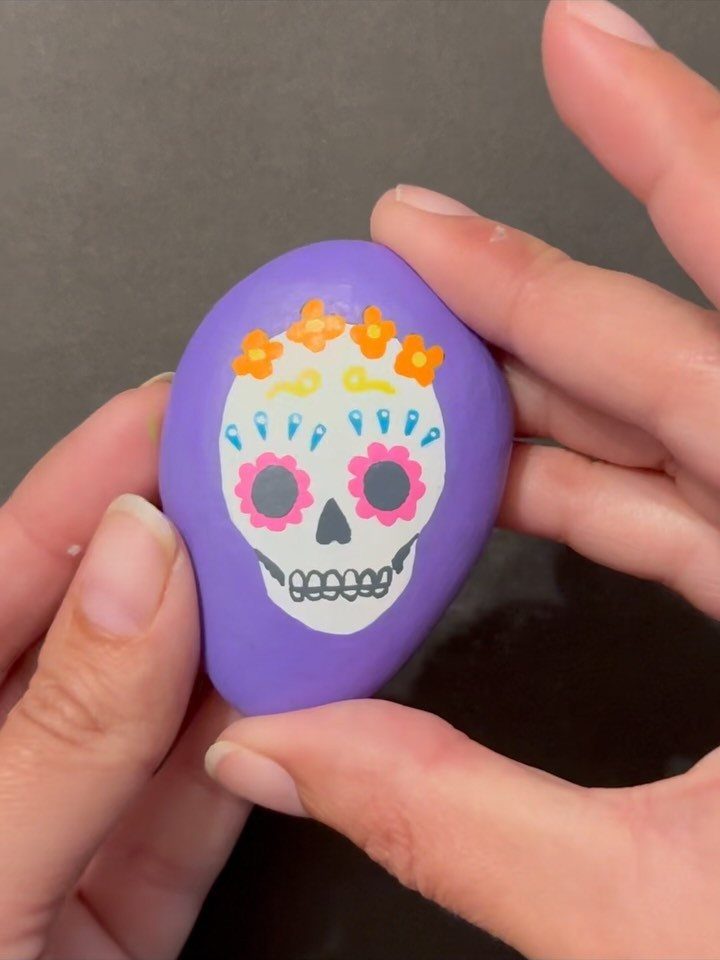
Painted rocks make a sugar skull craft that costs almost nothing: pick a smooth stone, give it a solid base coat, and add the face on top. A purple base makes bright detail colors stand out.
Let the base coat dry fully before painting the eyes and petals, or the colors muddy. Start with dark outlines for the eye sockets, then fill in small flowers and dots.
A finished rock sits well on an altar or along a windowsill, and it suits kids who like small, forgiving projects.
4. Sugar Skull Crafts
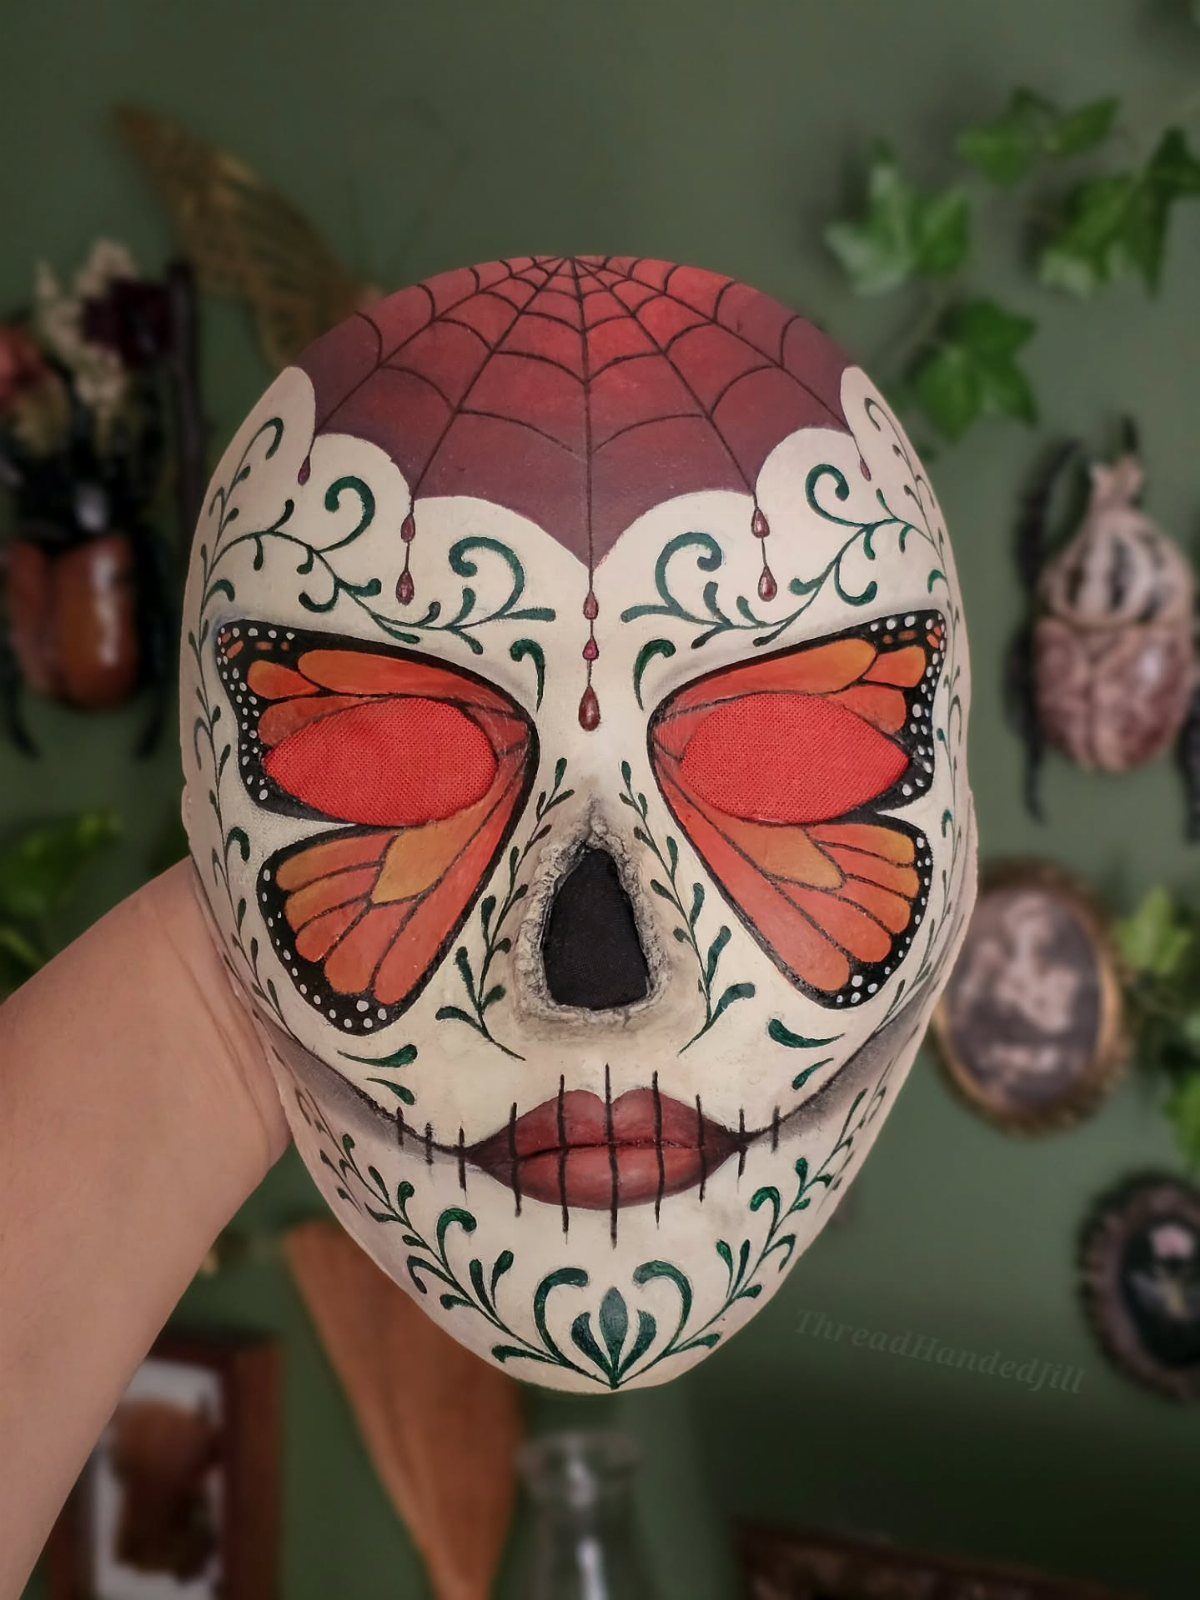
A hand-painted sugar skull carries the whole holiday in one object, and a white base lets every detail show. Layering designs such as a red spiderweb, butterflies and floral patterns gives each skull its own personality.
Paint the largest shapes first, then add the fine lines last with a thin brush or paint pen. Planning the pattern in pencil saves a lot of frustration.
I like skulls on a shelf with plants and framed photos, where the color has room to breathe.
5. Sugar Skull Masks
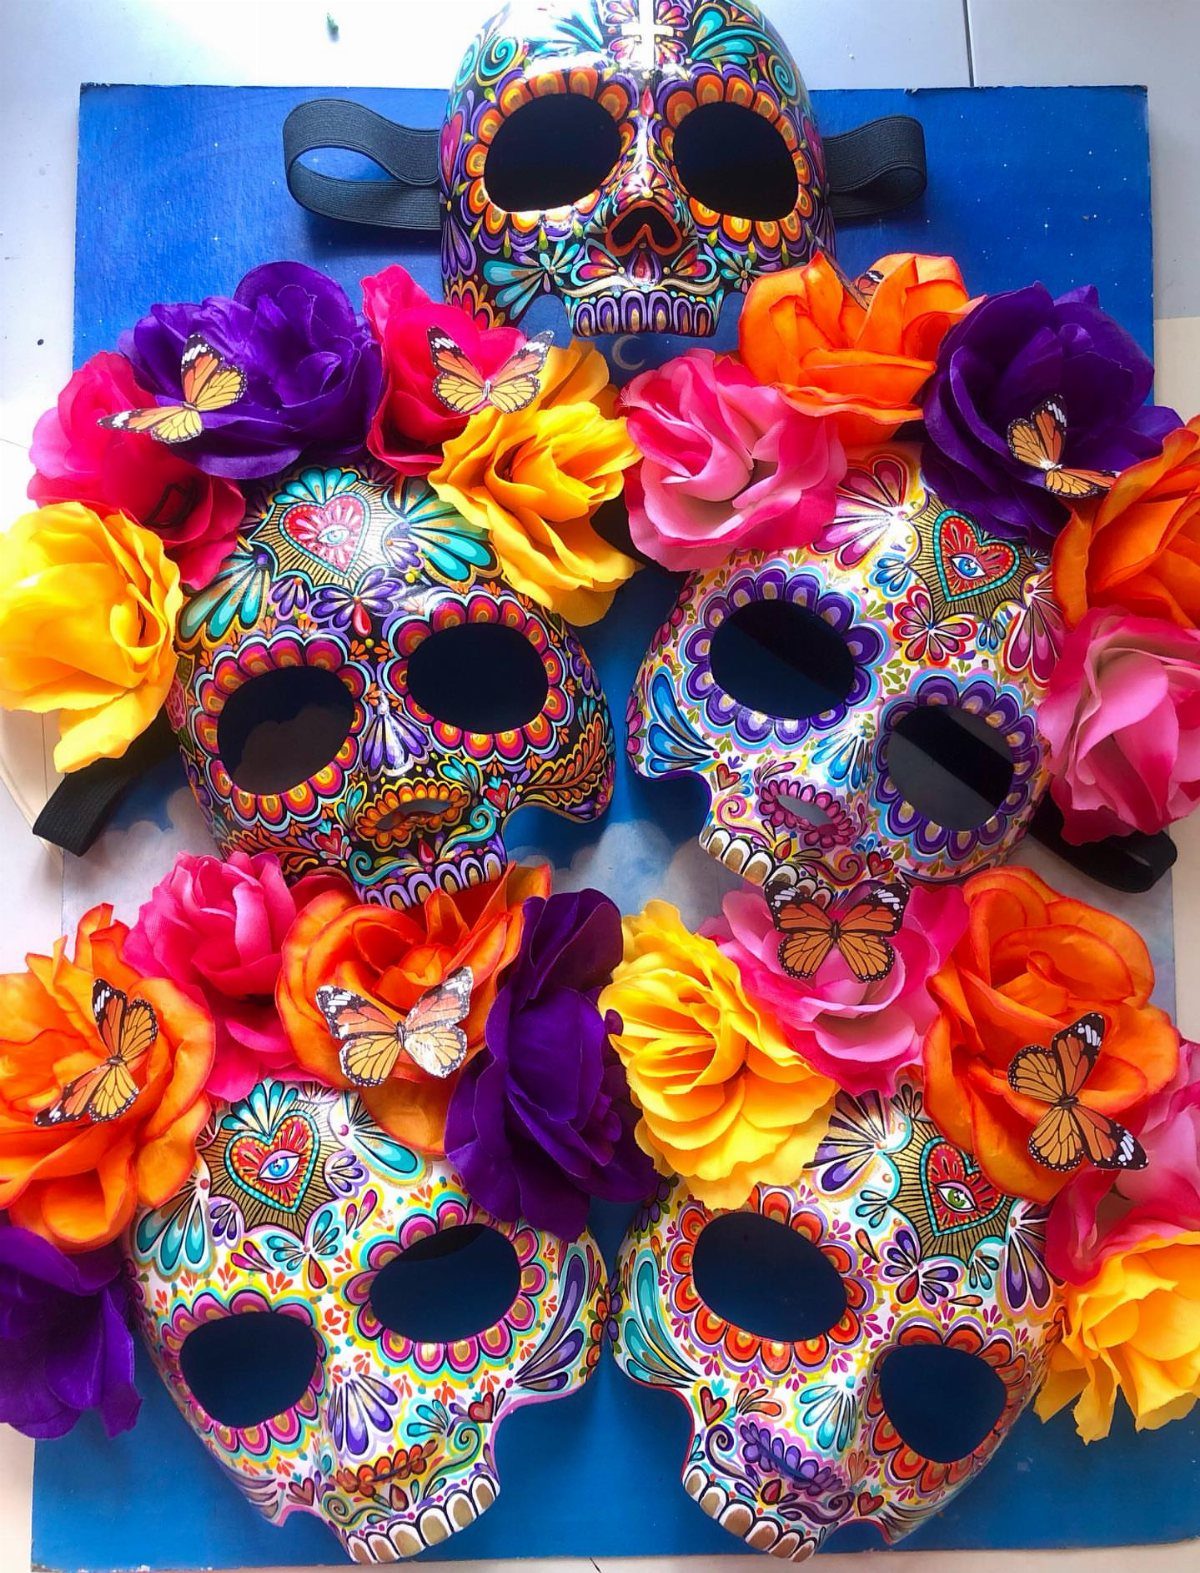
Sugar skull masks work best when the decoration stays light. Artificial roses and butterflies glued around the edges add color and bulk without much weight, so the mask stays comfortable to wear.
A group project suits this well: set out a pile of flowers and let each guest build a different look. Hot glue holds the flowers firmly, but adults should handle it.
Test the fit before gluing anything near the eyes, because a heavy cluster there blocks vision fast.
6. DIY Flower Crowns
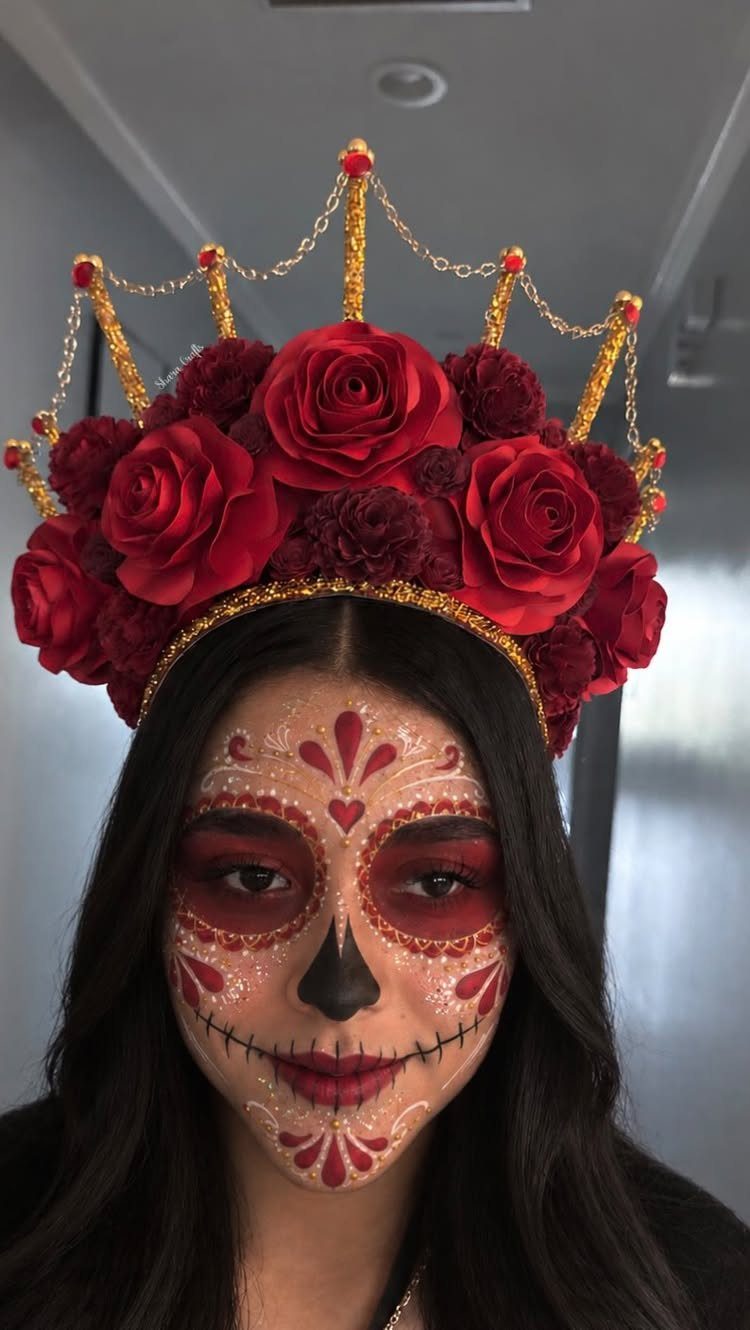
A flower crown with red roses and gold accents pairs naturally with sugar skull face paint, and it is the finishing touch that makes a costume feel complete. Artificial roses hold their shape all evening, which fresh blooms will not.
Build it on a flexible band sized to the wearer’s head, then wire the roses on in a tight row. Weave a gold chain between them for the shimmer.
Make it before party day, since the face paint takes the longest and needs your full attention.
7. Day of the Dead Flower Crown
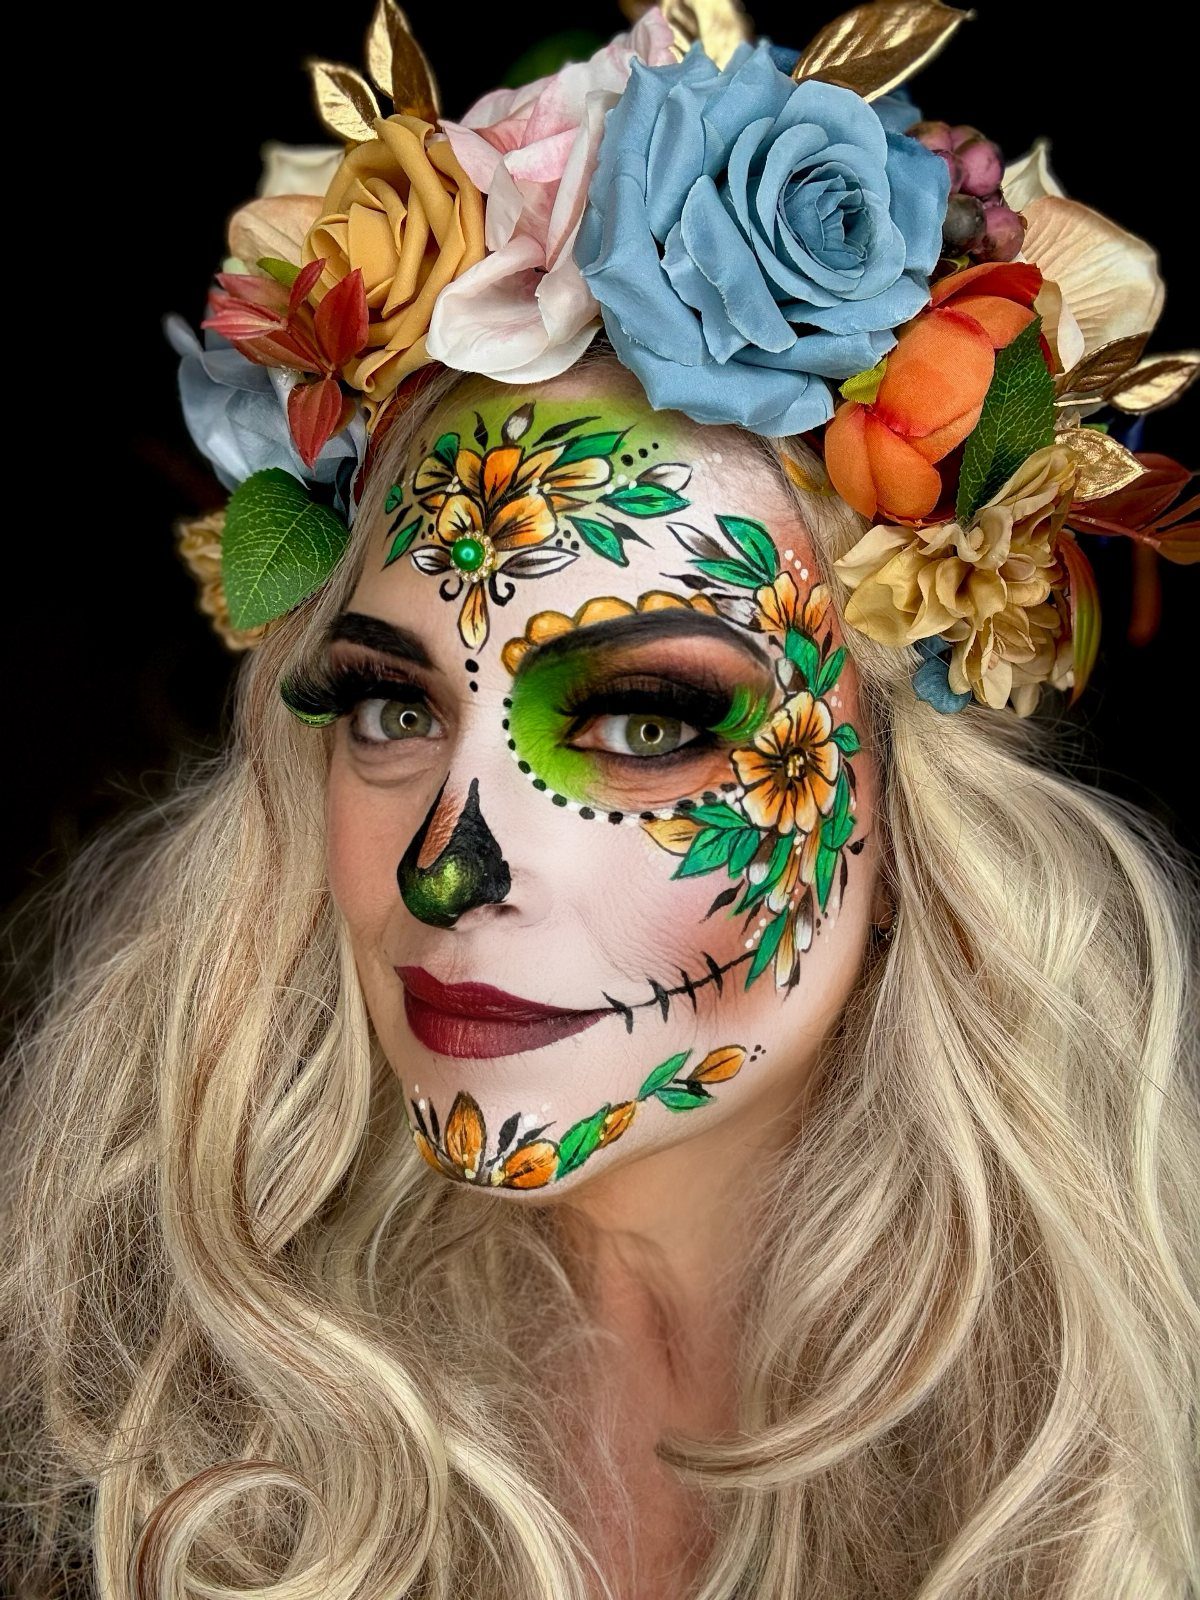
A flower crown for Day of the Dead works best when the blooms run bold: blue, yellow and orange blossoms read clearly against sugar skull face paint and dark hair alike.
Faux flowers are my pick, since they keep their shape through a long evening.
Wire or glue the blossoms to a flexible band, overlapping them so no band shows. Add a few small blooms at the ends so the crown tapers instead of stopping short.
8. Sugar Skull Piñata
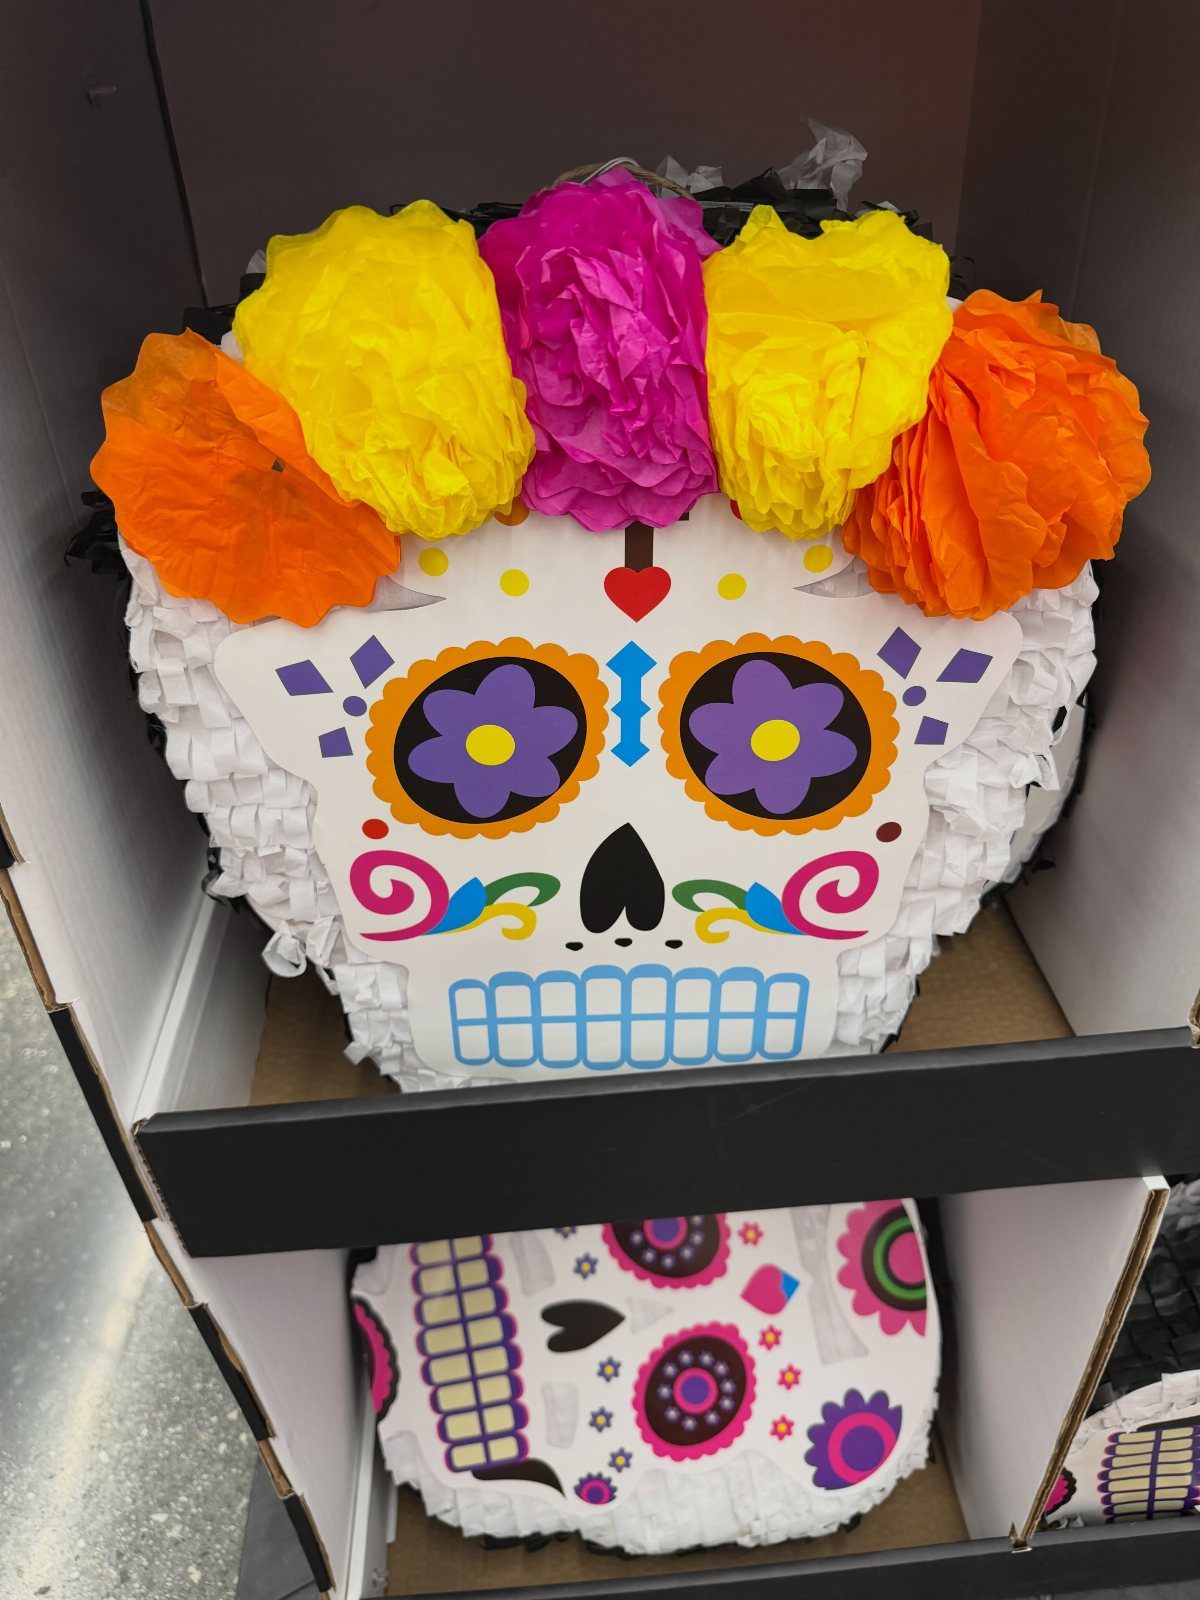
Piñatas are usually one of the pricier party items, and a store-bought sugar skull piñata is a fair shortcut when time is short. Tissue paper flowers around the face make it feel festive without any extra work.
If you build one yourself, a paper-mache shell covered in layered tissue gives the same look for less. Cover it in flowers last, once the glue underneath has dried.
Hang it from a sturdy hook, and keep the stick for older kids.
9. Day of the Dead Wreath
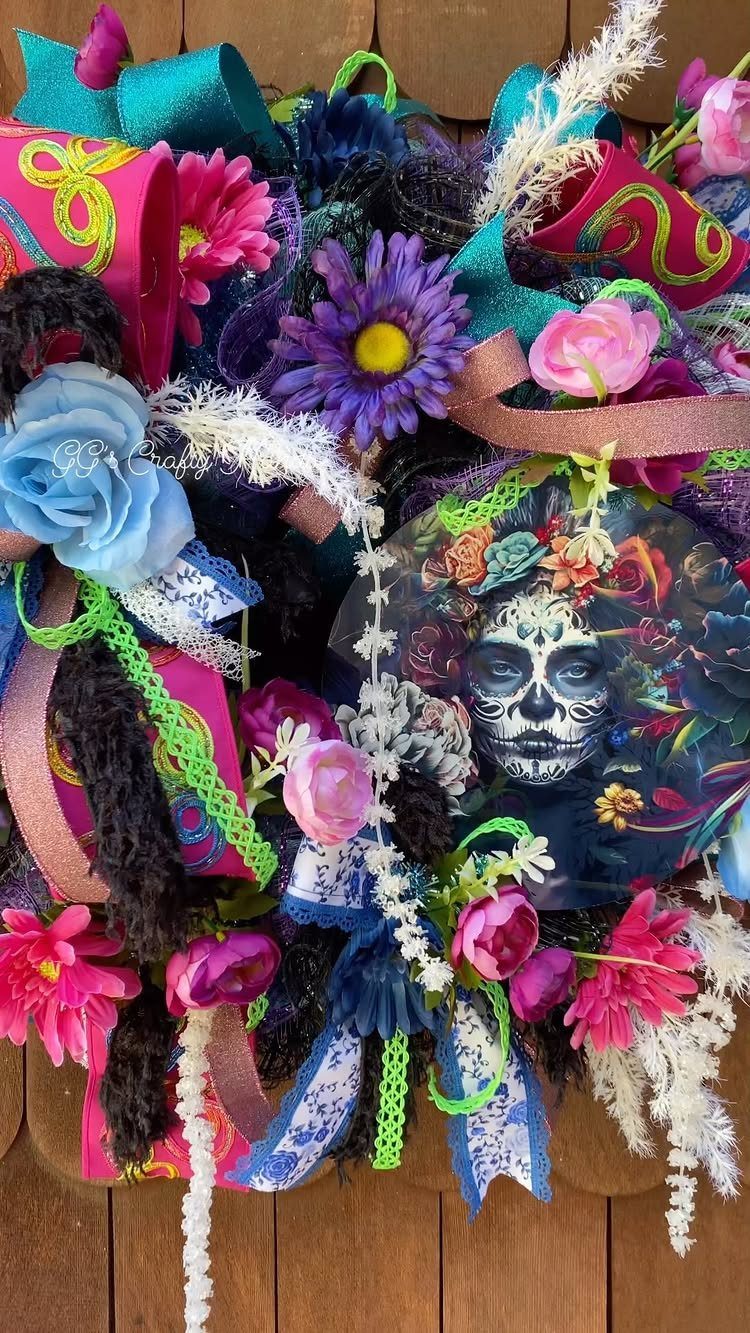
Faux flowers make a Day of the Dead wreath that lasts for years, and ribbons tucked between the blooms add movement. A sugar skull face at the center gives the eye somewhere to land.
Start with a plain wreath base and glue on the largest flowers first. Fill the gaps with smaller blooms and loops of ribbon, then set the skull in the middle.
Hang it on a front door or above the altar, wherever the color will be seen first.
10. Painted Sugar Skull Pumpkins
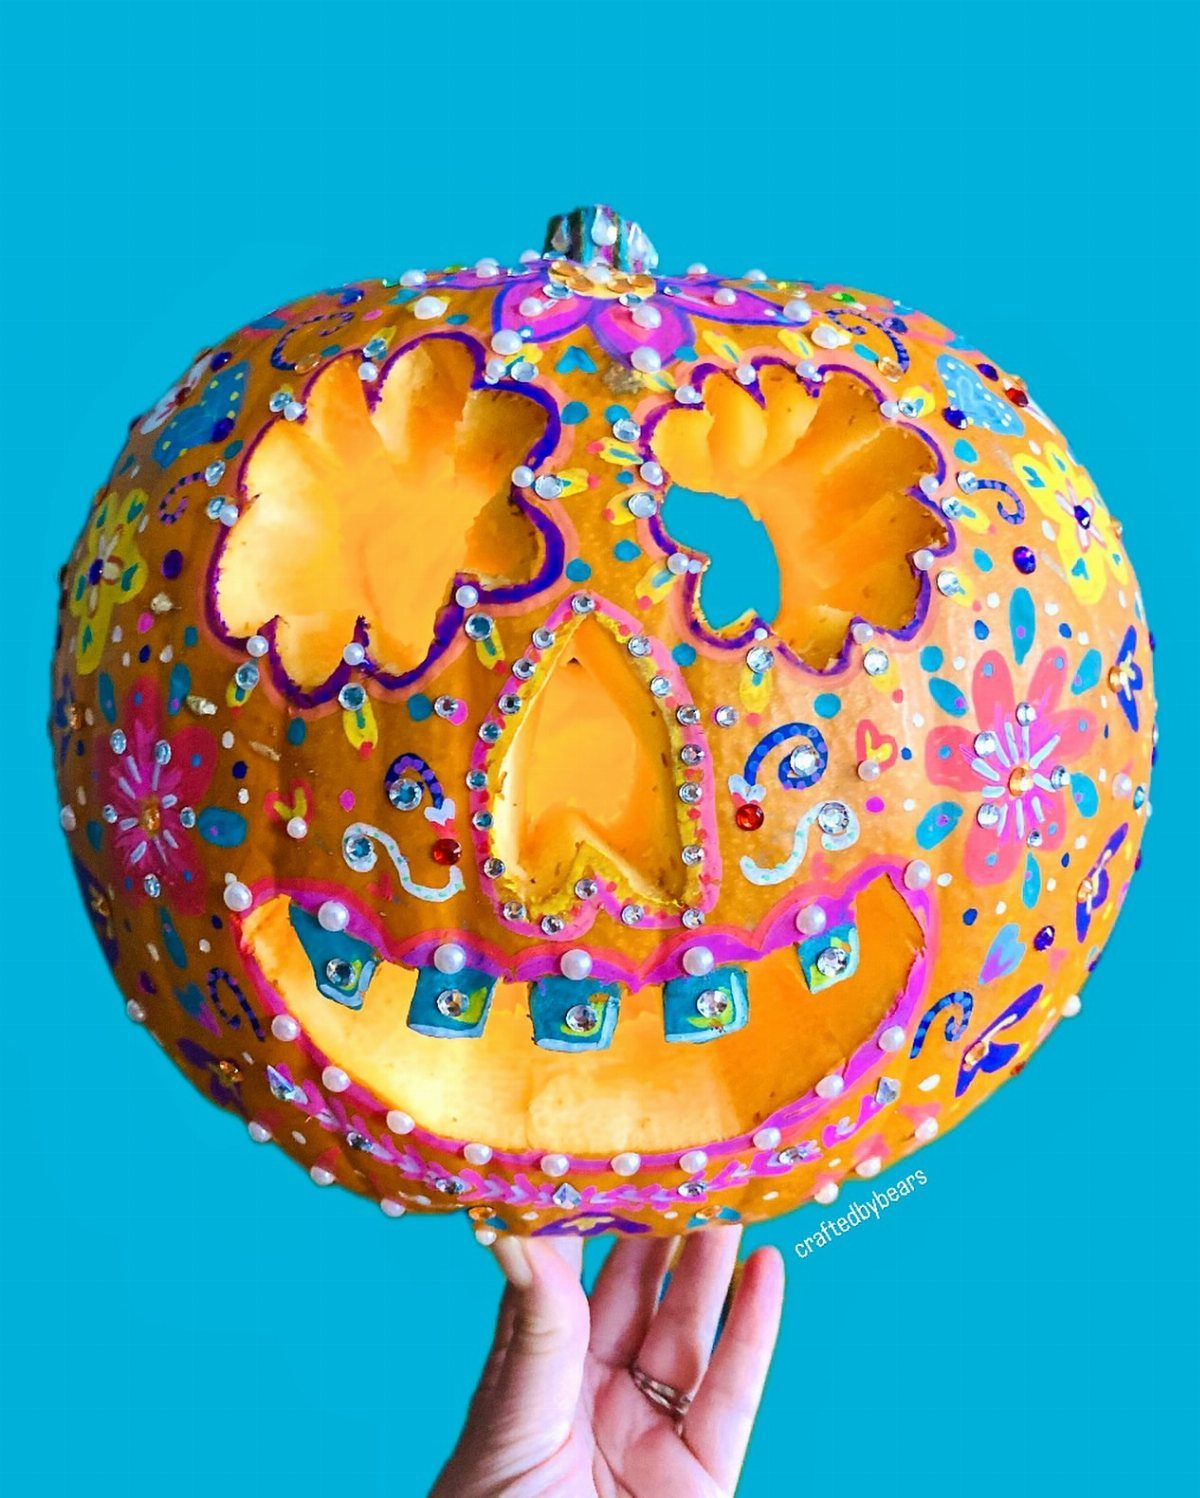
A pumpkin painted as a sugar skull gives you a big, round canvas, and rhinestones add sparkle where paint alone goes flat. Paint the base first, then place gems on the eyes and cheeks.
Use craft glue for the rhinestones, since paint will not hold them. Sketch the face in pencil before any color goes on; pumpkin skin is curved and fussy.
Painting instead of carving keeps the skin whole, and I like that for a project kids can share.
11. Calavera Cookies
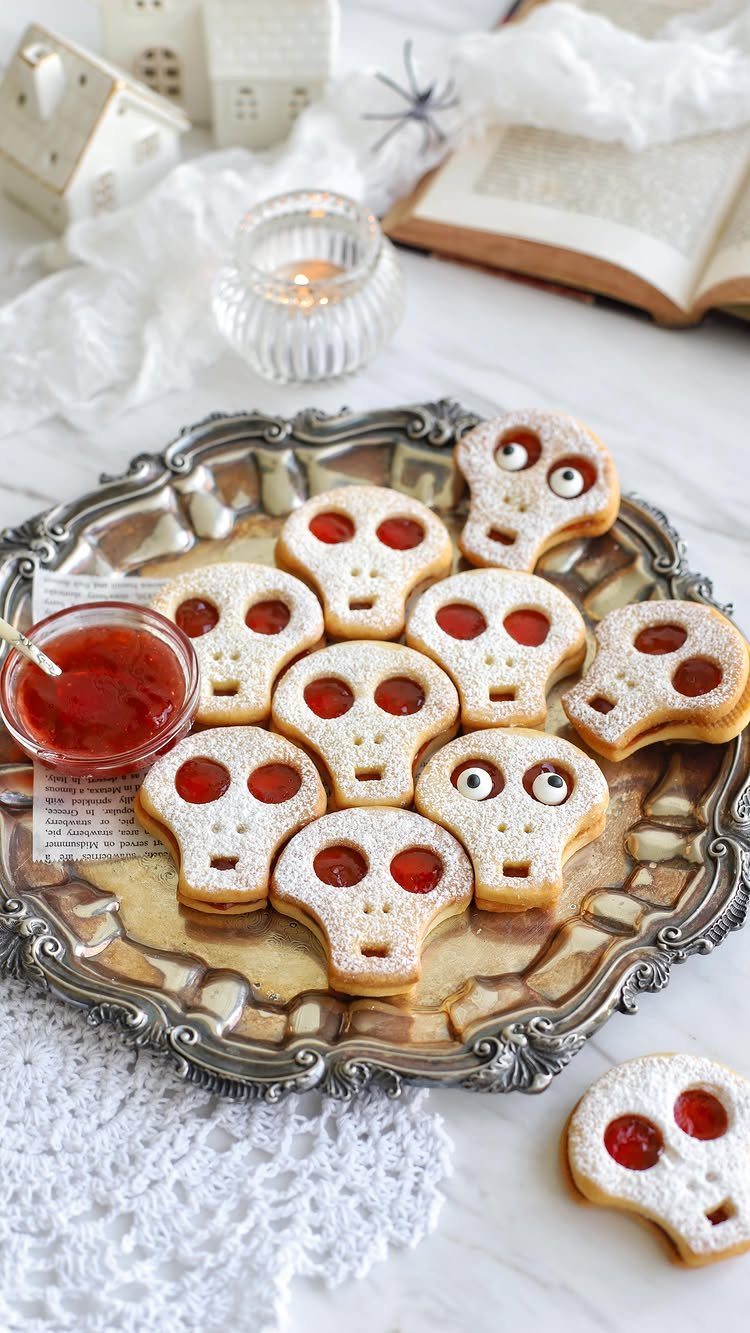
Calavera cookies are plain sugar cookies cut in a skull shape, and the decoration can stay simple. Red jam in the eye sockets looks striking against pale dough and tastes good too.
Chill the dough before cutting so the edges stay sharp. A skull cutter makes this easy, and candy eyes are a quick option if jam feels messy.
Let the cookies cool fully before adding anything, or the decoration slides. Set them out on a nice platter and they double as table decor.
12. Sugar Skull T-Shirts
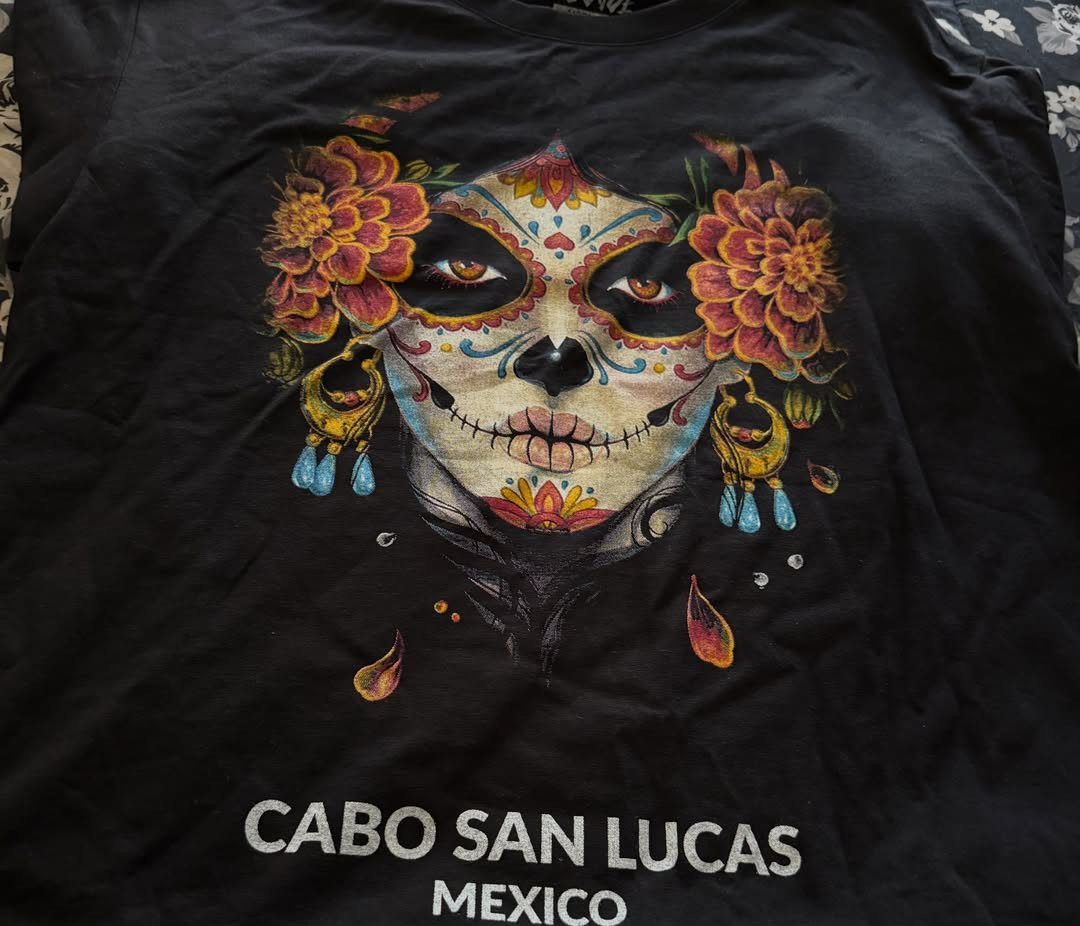
A black shirt makes a sugar skull graphic glow: bright flowers and a white face stand out hard against the dark fabric. Black is the base I would choose every time.
For a DIY version, fabric paint or iron-on transfers both work. Paint is cheaper, while a transfer gives cleaner lines if your hand is not steady.
Slip a piece of cardboard inside the shirt before painting so color does not bleed through to the back. Wait until it dries fully before wearing it.
13. Sugar Skull Jewelry
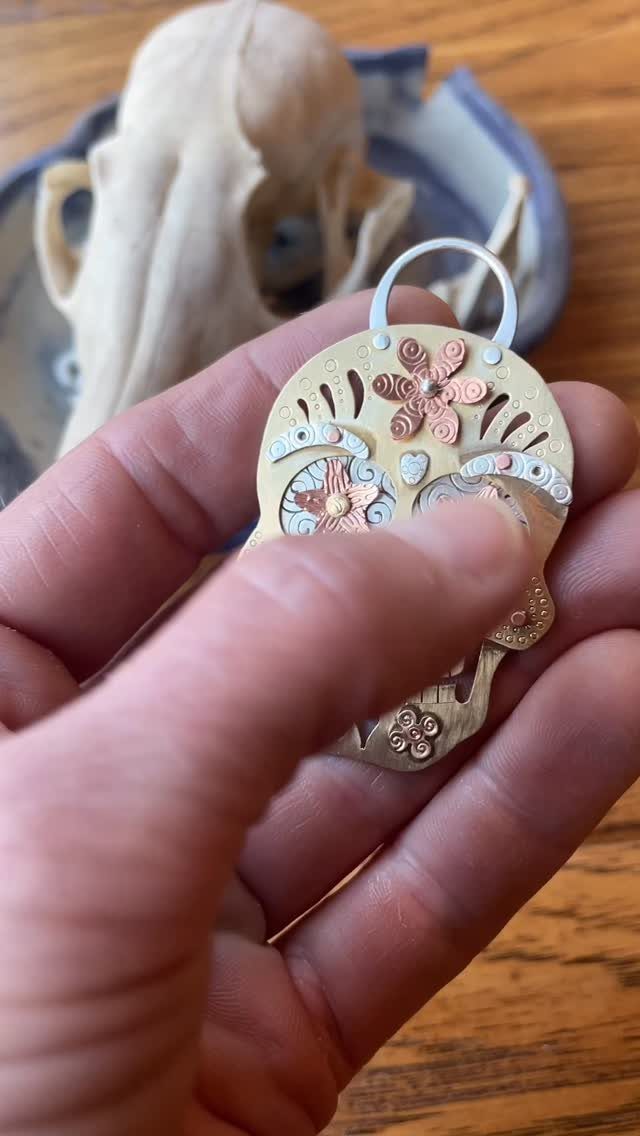
A metal sugar skull pendant with floral detail needs nothing more than one small face on a chain. A pendant like this is worth wearing on its own, with plain clothes, so the engraved flowers get the attention.
For a DIY version, a blank metal pendant and small flowers can get you close. Choose a pendant you can hold comfortably, since fine detail is hard to judge on something tiny.
Matching a single skull to a simple chain is my pick over stacking several necklaces.
Cultural Significance
Día de los Muertos runs November 1–2, right after Halloween, and the dates matter if you want to keep the two holidays separate. The holiday centers on remembering the dead, but the mood stays celebratory rather than somber.
The holiday runs 2 days.
November 1 honors children who have died, November 2 honors adults. If you host something, pick the day that fits the person you are remembering.
Marigolds, papel picado, candles and pan de muerto all carry specific meaning in the tradition, which makes them better decoration choices than jack-o-lanterns or plastic skeletons.
Sugar skulls stand for a departed soul, while the bright flowers on them stand for life.
Crafting with Kids
Give kids a job tied to a person, not just a project. Cutting paper marigolds or writing names on photo cards gives younger children something concrete to do while they figure out what remembering someone means.
Let them build a mini ofrenda of their own with one photo and one small light.
Don’t correct every detail. A lopsided flower made with care does the job.
Keep the pieces afterward. Saving what your child makes in a folder or book shows how your family remembers, not just who.
Using Altars
A small table or shelf is enough for an ofrenda. Set out photos, marigolds, papel picado, candles and food offerings such as pan de muerto, and add the favorite snacks and drinks of the person you are honoring.
Include things that reflect their interests, so the altar reads as one particular person and not a generic display.
Check in before you build one with a group, especially children or a classroom. A recent loss can make an altar project hard, so ask first and give people the choice to sit it out or honor someone quietly.
Light the candles to guide the spirits, and keep the flame, incense and paper well apart.