The projects here run from a Blue and Silver Candy Wreath to a Cross-Stitched Menorah Frame, and the time you have on hand decides which one is yours.
Short on hours, go for the Blue and Silver Candy Wreath, the Painted Peg Wood Menorah or the Hanukkah Tissue Paper Lanterns, which all start from simple supplies.
With a few quiet evenings, the stitching, the beeswax twisting and the log slice with 9 drilled holes pay you back in pieces you’ll pull out every year.
1. Hanukkah Wall Hanging Craft
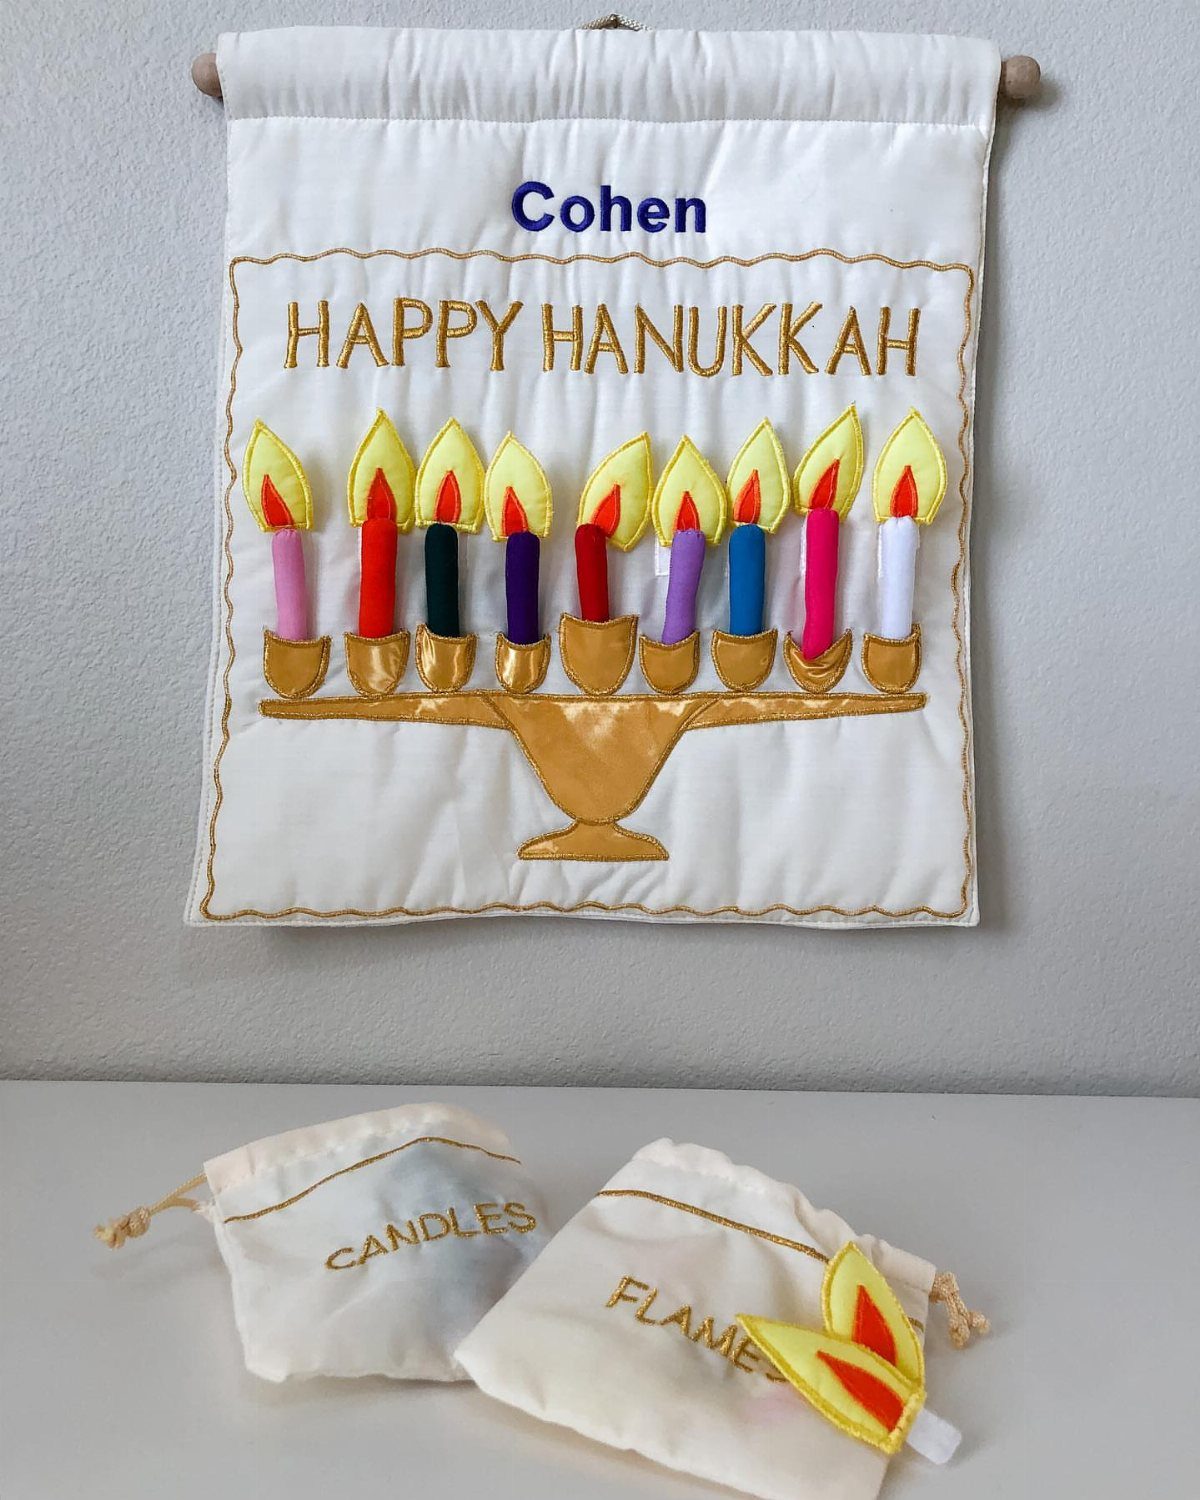
A felt wall hanging works because the pieces are flat and forgiving.
Cut the menorah and candles from felt, then stitch or glue them to a white fabric panel; felt edges don’t fray, so there’s no hemming on the shapes themselves.
Personalizing it with a family name, as this one does, makes it something you’ll pull out every year.
The 2 little pouches for candles and flames are a good idea to copy: they hold spare felt pieces for kids to add each night.
2. DIY Hanukkah Greeting Cards
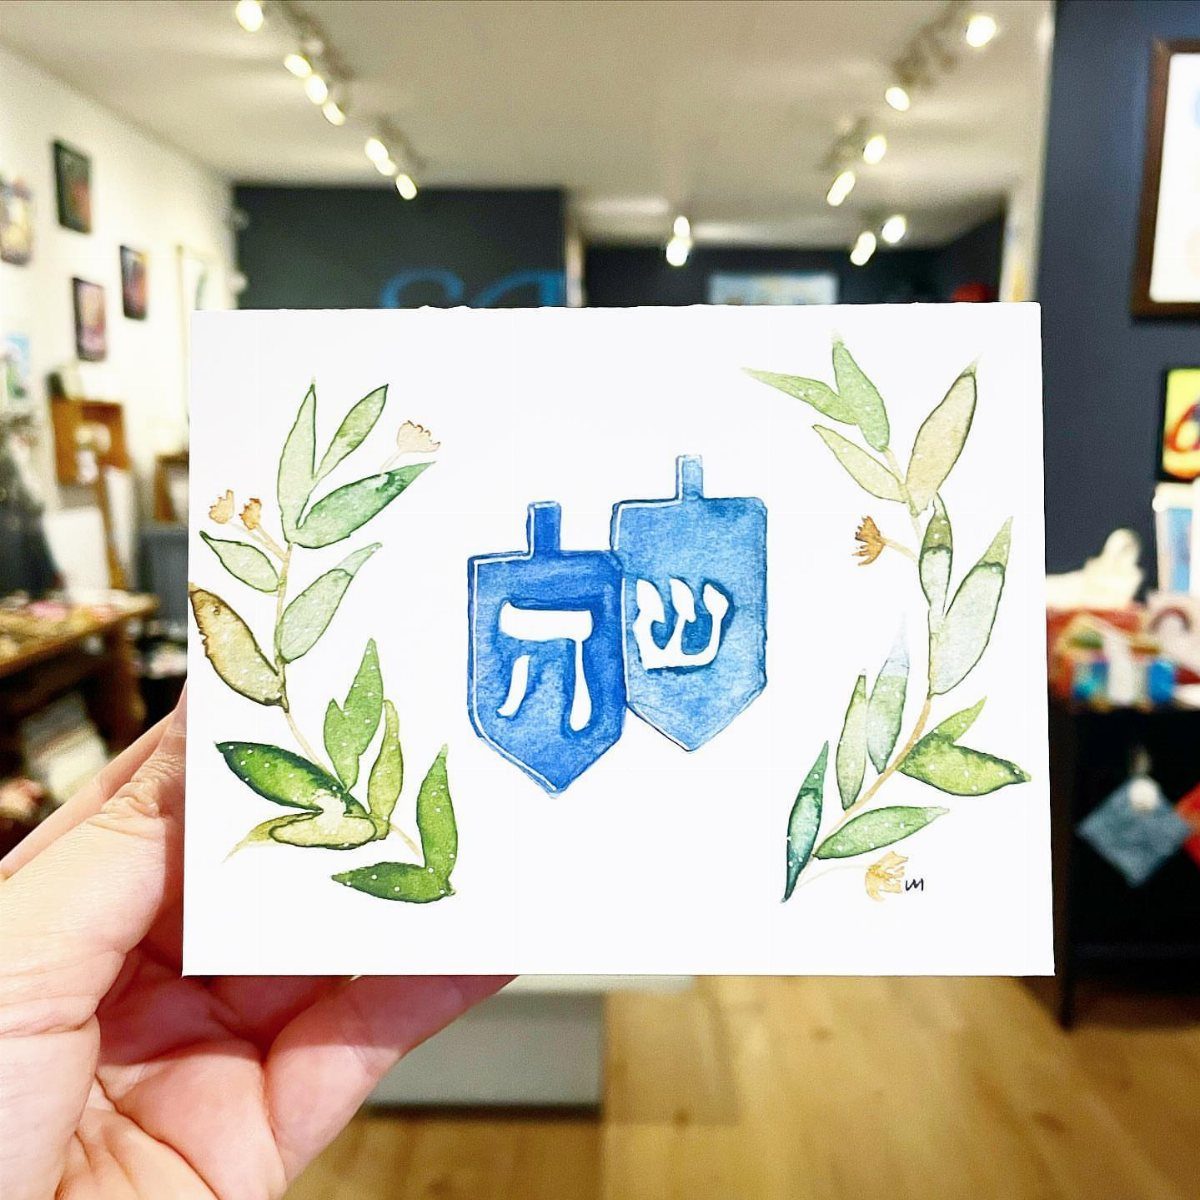
Watercolor suits a Hanukkah card better than almost any other medium, because blue washes bleed softly and one dreidel takes about a minute to paint.
Use heavy cold-press paper so it doesn’t buckle, and let each shape dry before adding the Hebrew letters on top.
Paint a whole batch of dreidels on one big sheet, then cut it down into cards. I’d pick a fine brush for the lettering and write a note inside each one by hand.
3. Natural Log Slice Menorah
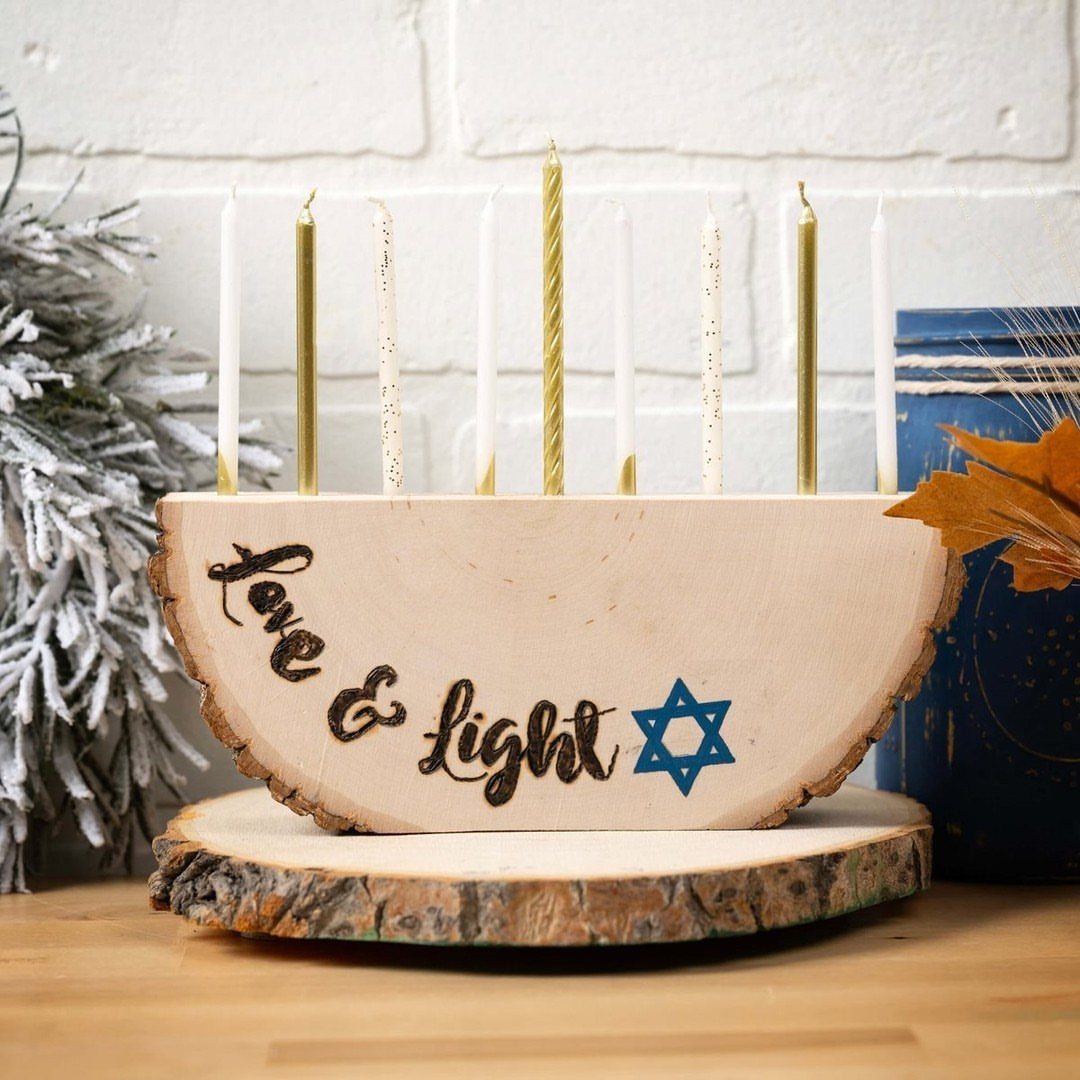
Rustic works here because the wood does the decorating. A log slice with 9 candle holes needs little else: sand the surface, then add a greeting and a blue Star of David with paint or a wood-burning pen.
Drill the holes before you write anything, so a slip doesn’t ruin the lettering.
The shamash needs its own hole, so drill it a little higher than the rest or mark it clearly apart from the candle holes beside it. Hold off on the paint until the sanding is done.
4. Cross-Stitched Menorah Frame
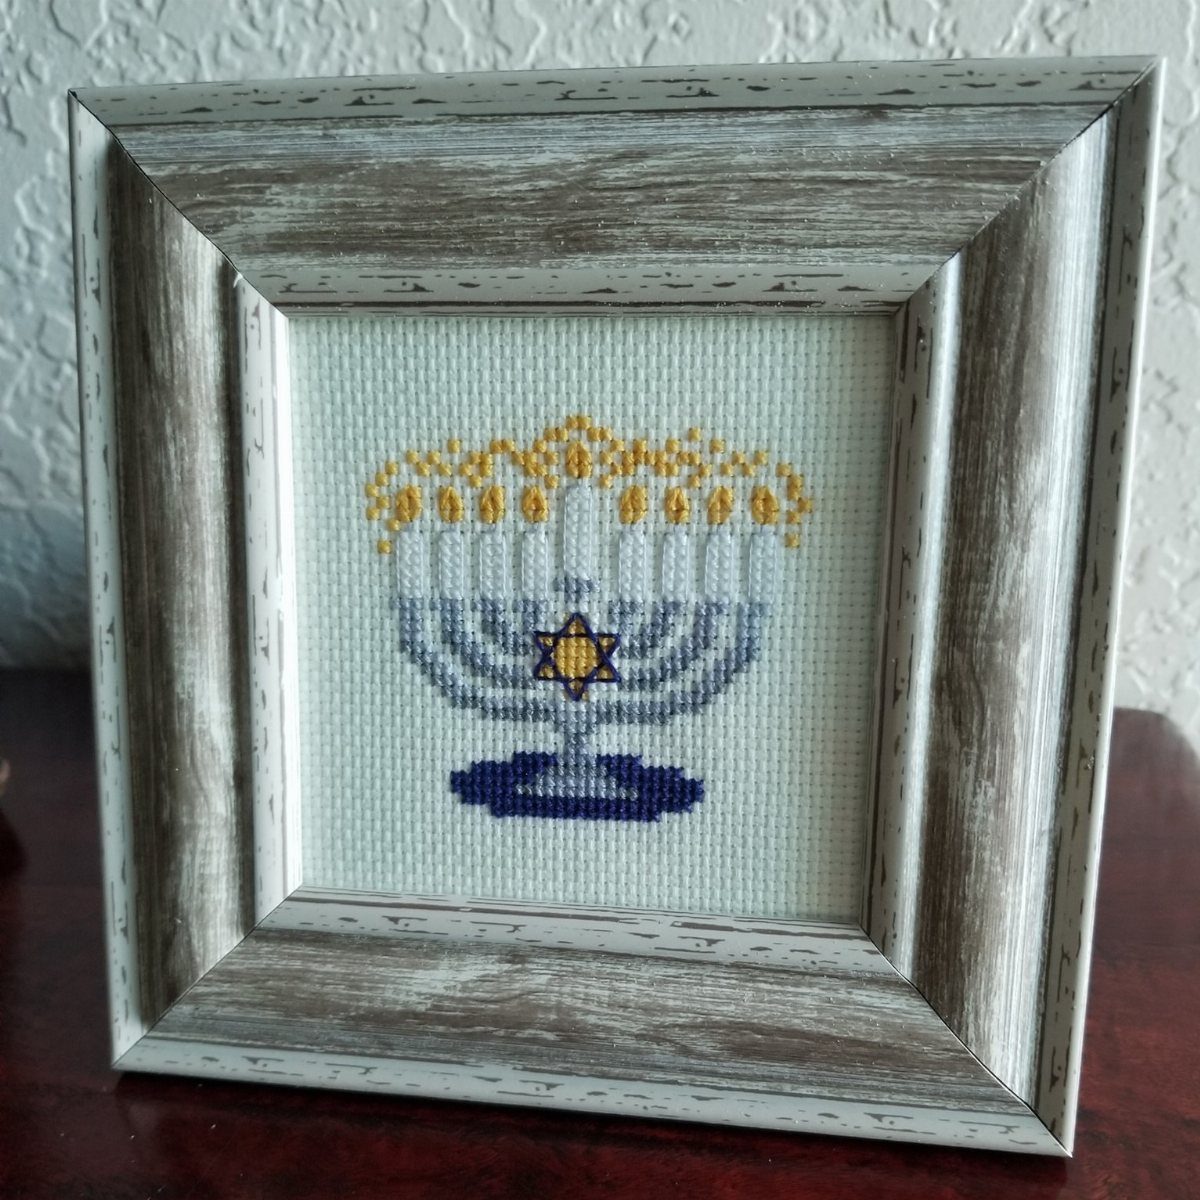
Blue and yellow thread against pale fabric gives a menorah real contrast, and the Star of David in the center makes a natural focal point.
Cross-stitch is slow but calm, and a pattern this graphic is a good fit for an evening or two of stitching at a time.
Count your stitches on the center star first, then build the branches out symmetrically from it. A grey-white wooden frame keeps the look warm and lets it hang up all year.
5. Twisted Beeswax Candle Menorah
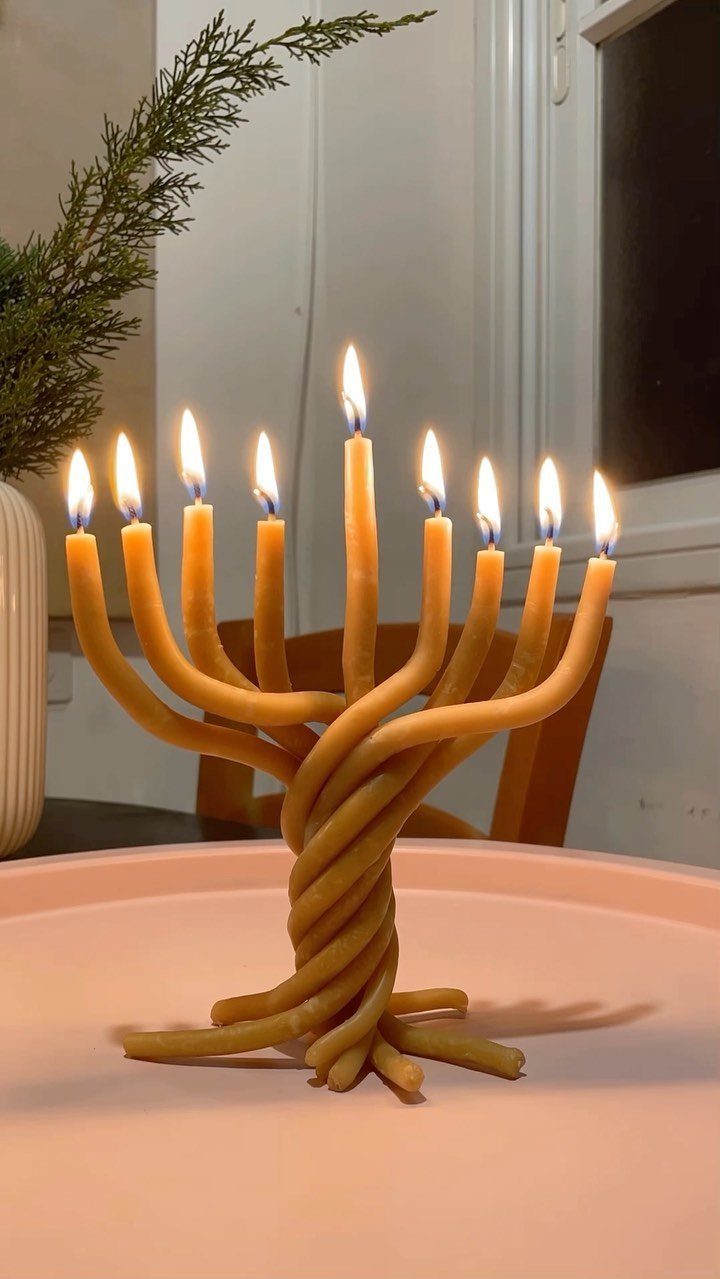
Twisting does all the work in this menorah: warm beeswax sheets or tapers bend into spirals that read as sculpture before they’re even lit.
Beeswax stays pliable when it’s slightly warm, so work near a sunny window or rub the wax between your hands first.
Set the candles on a tray, since the flames sit close together and drips happen. I’d choose a flat, low tray over a decorative dish, and keep the shamash visibly different from the other eight.
6. Blue and Silver Candy Wreath
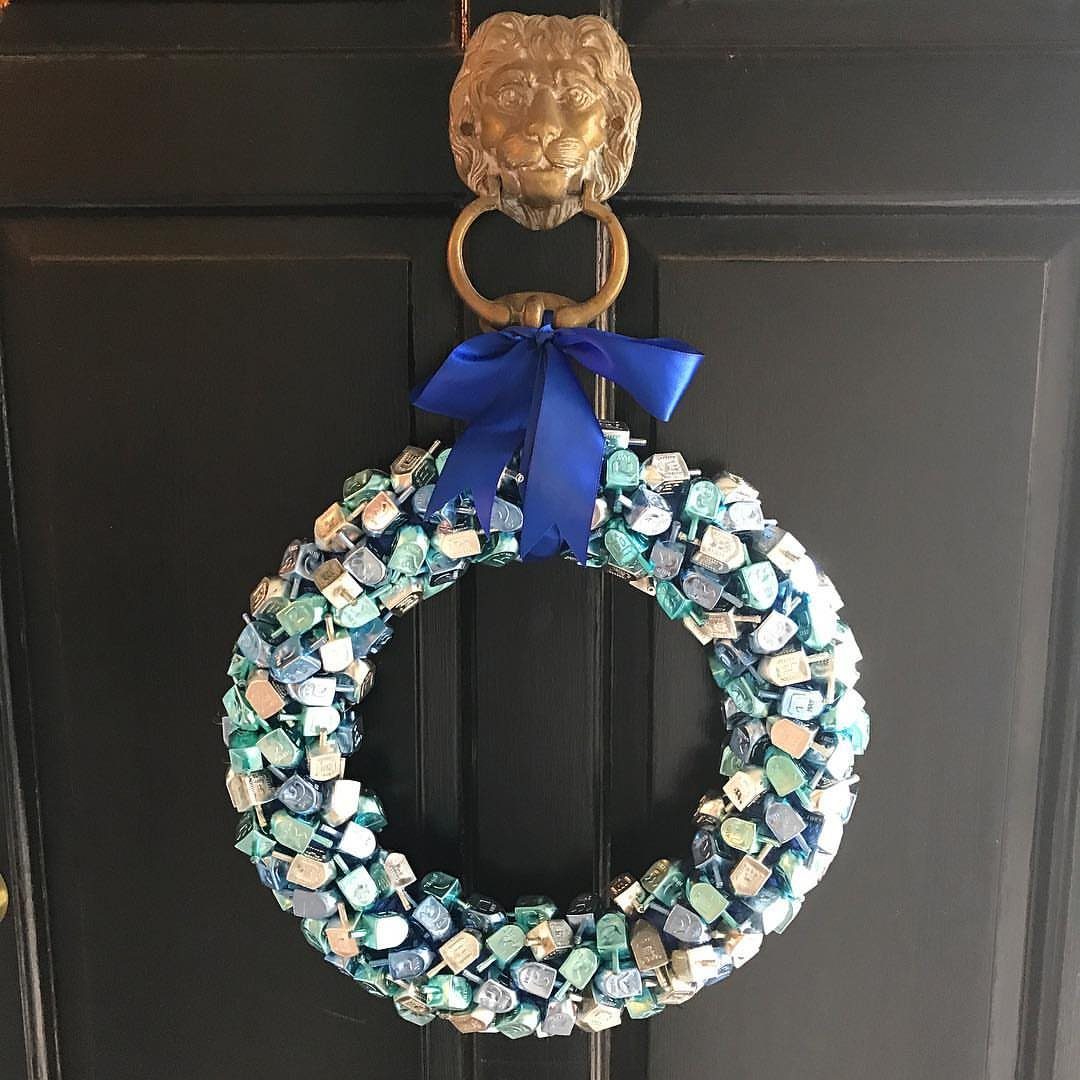
A candy wreath is store-bought shortcut crafting at its easiest: wrapped sweets in blue, silver and white, glued to a ring, finished with a blue bow.
Use a foam or cardboard ring as the base and hot glue each candy by its twisted ends.
Buy more candy than you think you need, because gaps show on a round shape. Hang it from a strong hook or knocker, and keep it out of direct sun so the glue and wrappers hold.
7. Hand-Painted Menorah Gift Tags
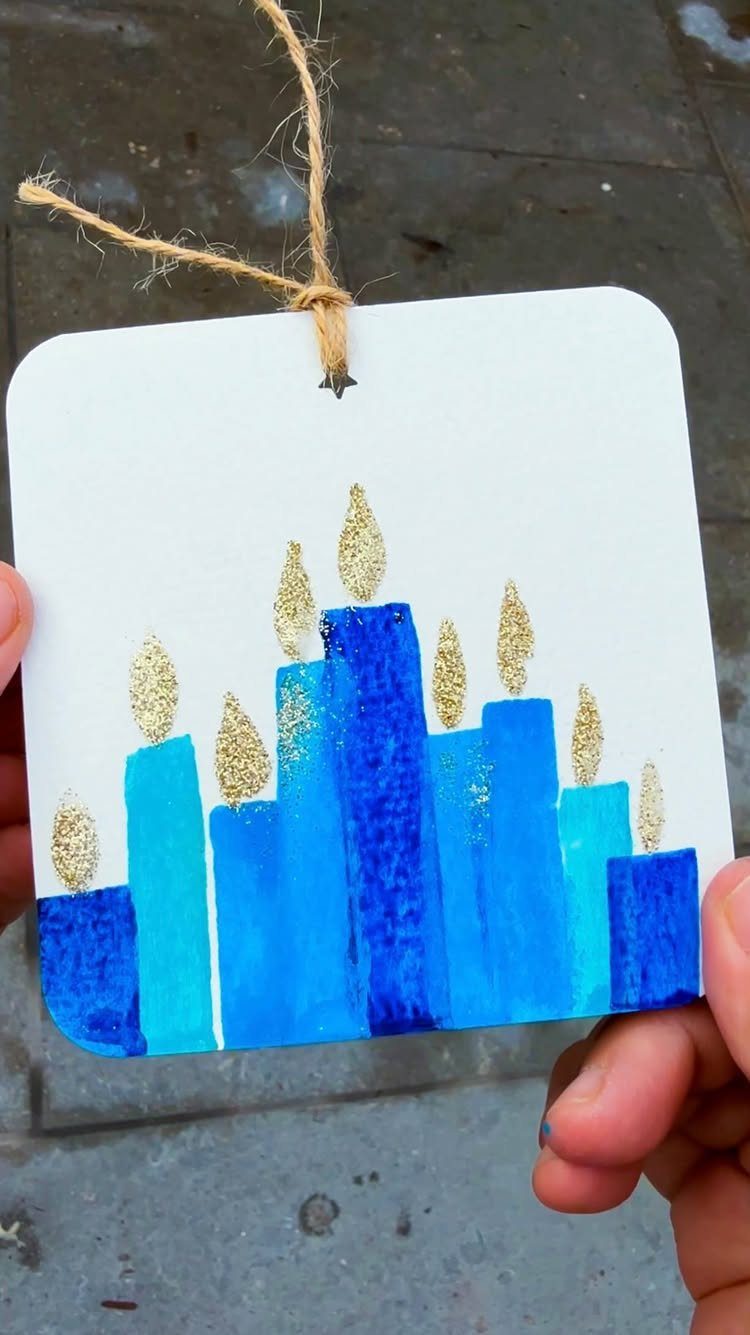
A square tag gives you a small canvas, and a blue menorah with gold glitter flames fits it well.
Paint the menorah on white cardstock first, let it dry fully, then dab glue on each flame and sprinkle the glitter over it.
Thread twine through a punched hole at the corner. Paint a few extra tags in one sitting, since the second and third menorah always come out steadier than the first.
8. Glass Vial Beaded Menorah
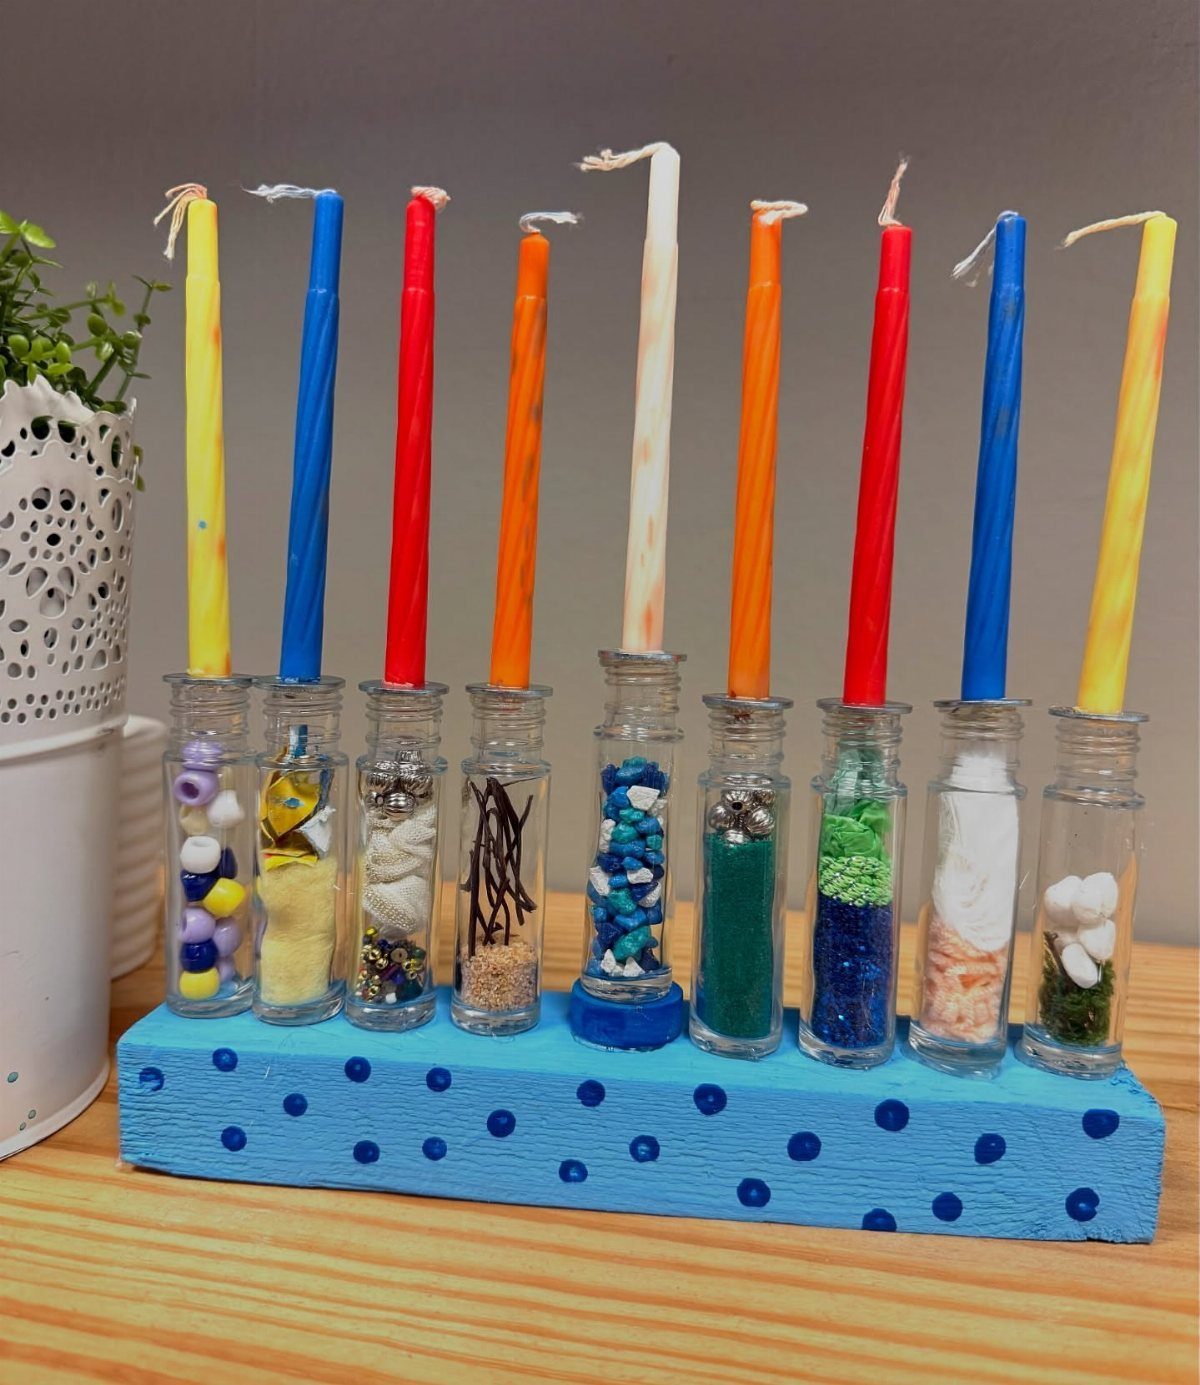
Glass vials make a menorah that is as much a toy as a candleholder. Filling them with beads and grains gives you color without any paint, and a polka-dot base ties the whole row together.
Drill the base holes to fit your vials snugly, and paint the dots before the vials go in.
Choose a shamash vial that stands out from the rest. Fill the vials loosely so the colors stay easy to see through the glass.
9. Hanukkah Tissue Paper Lanterns
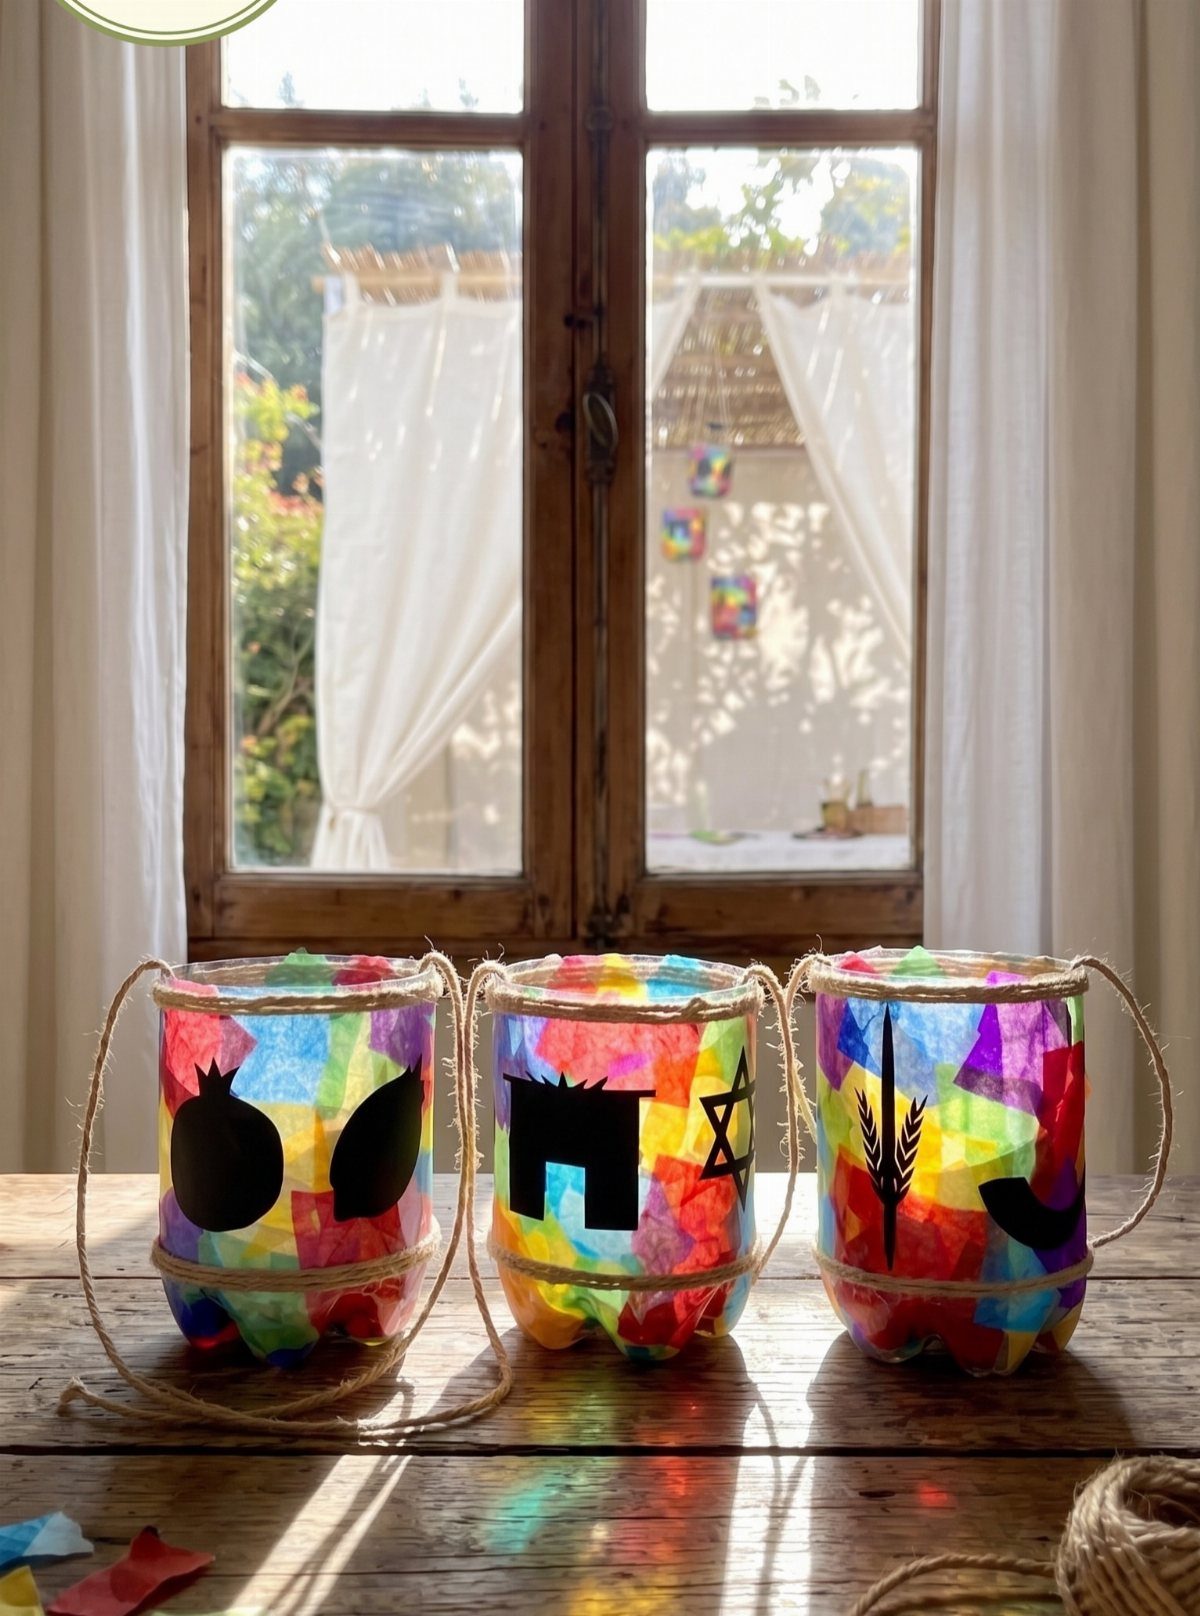
Plastic bottles are a free starting point for a lantern, and tissue paper turns them into stained glass.
Tear the tissue into small pieces, brush them on with a thin coat of glue, and overlap the edges so no clear plastic shows.
Cut the black silhouettes from construction paper, such as a dreidel or a star, and press them on last.
I’d go with plenty of mixed colors, because the mosaic looks best when no single shade dominates. Set them in a window for the light.
10. Painted Peg Wood Menorah
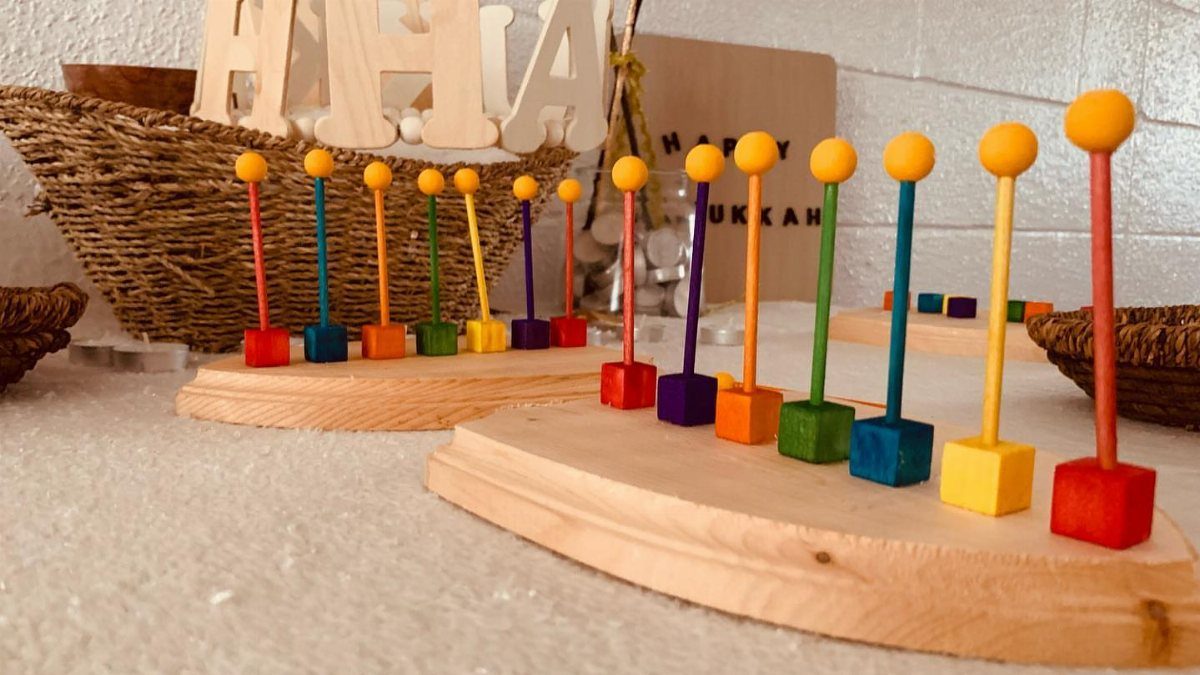
Wooden pegs are the whole trick here: nine of them, each painted a different bright color, standing in a light wood base. The look is modern and the paint job is forgiving, since every peg is its own small project.
Paint the pegs before you glue them in, and keep the shamash peg set apart or taller.
2 coats give you solid color. I’d leave the base unpainted so the pegs carry the color.
Displaying Hanukkah Crafts
Cutouts are the quickest way to turn a finished craft into a display. Wooden shapes of a dreidel, a menorah or a Star of David can be painted, then hung in a window or along a mantel on twine.
For a table, group crafts at different heights so the eye moves along them. A stack of books under one piece does the job, and a runner underneath ties the group together.
A centerpiece works best when it stays low. Guests should see each other across it, so keep it under eye level.
Leave a clear gap around anything with a live flame, and keep paper and fabric pieces well away from it.
Using Household Items
Sponges and leftover vegetables make good stamps, and they cost almost nothing. If latkes are on the menu, the scraps from that prep are ready to use.
Cut an old sponge into a simple shape, such as a star or a dreidel, then dip it in paint and press it onto paper, fabric or a plain gift bag.
Vegetable stamps work the same way, though they need a sharp knife, so an adult should do the cutting.
Test each stamp on scrap paper first. A light dab of paint gives a cleaner edge than a heavy one.
Engaging Family in Crafting
Hanukkah runs eight nights, which gives you room to spread crafting out instead of cramming it into one evening. Make one project a night, and each day gets its own small moment.
Handmade pieces also carry more meaning than store-bought decorations, because you use them in your own celebration. Whether the group is adults, teens or kids, DIY suits all of them.
Match the task to the person.
Let the steadiest hands handle fine detail, and give younger helpers the stamping, sorting or gluing. Keep supplies out on one table so people can drift in and out as they like.
With these four easy crafts for young hands, you can add creative touches to your Hanukkah celebration. In Hebrew, that’s called hiddur mitzvah (beautification of a commandment), and in Jewish tradition you’re never too young to beautify.
Frequently Asked Questions
Do Jews decorate their house for Hanukkah?
Yes, many people decorate with symbols like menorahs, dreidels and the Star of David. Keep anything paper or fabric well away from live flames.
What two colors are associated with Hanukkah?
Blue and white are the colors most linked with Hanukkah.
Blue and silver candy wreaths, blue watercolor washes and blue menorahs on white cardstock all follow that palette. Gold glitter and bright peg colors also work as accents.